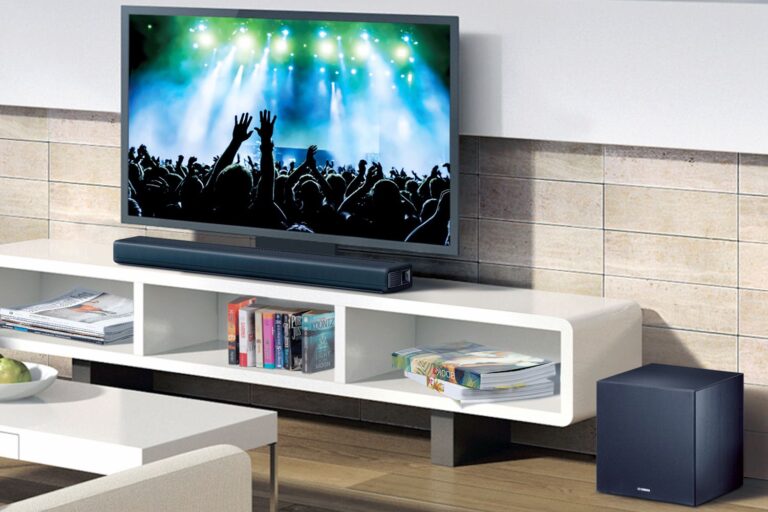

Did you just buy a soundbar? Are you ready to connect it to your TV so that you can experience the difference in sound with a soundbar? Well, you’ve come to the right place!
A soundbar is an excellent addition to any home entertainment setup that can significantly improve the audio quality of your TV. However, not every soundbar is compatible with every TV, and connecting your soundbar to your TV can be a bit of a challenge, especially for those who are not very tech-savvy.
If you’re looking to connect your soundbar to your TV using an HDMI cable, you’ve come to the right place. In this comprehensive guide, we’ll walk you through the process step-by-step so that you can enjoy an immersive audio experience in no time.
Step 1: Check the HDMI Ports on Your TV and Soundbar
The first step in connecting your soundbar to your TV using HDMI is to check the HDMI ports on both devices. Most modern soundbars and TVs have at least one HDMI port, but it’s important to ensure that the ports are properly labeled. Look for HDMI IN and HDMI OUT ports on both devices.

Step 2: Connect the HDMI Cable
Once you’ve located the HDMI ports on your TV and soundbar, it’s time to connect the HDMI cable. Connect one end of the HDMI cable to the HDMI OUT port on your soundbar and the other end to the HDMI IN port on your TV.
Step 3: Configure Settings on Your TV
After you’ve connected the HDMI cable, you need to configure the settings on your TV to ensure that the sound is coming from the soundbar and not the TV’s built-in speakers. Depending on your TV, the settings may vary, but typically you’ll need to go to the audio or sound settings and select the external or HDMI speaker as the output device.
Step 4: Configure Settings on Your Soundbar
Most soundbars come with a remote that you can use to control various settings, such as the volume, bass, and treble levels. Once you’ve connected your soundbar to your TV, you’ll need to configure the soundbar’s settings to ensure optimal sound quality. You may need to consult your soundbar’s manual for detailed instructions on how to adjust the settings.
Step 5: Enjoy Your New Audio Experience
Once you’ve completed all the steps, you should be able to sit back and enjoy an immersive audio experience. Whether you’re watching your favorite movie or listening to your favorite music, your soundbar should provide a significant improvement in audio quality, making your overall entertainment experience more enjoyable.
Final Thoughts
Connecting a soundbar to your TV using HDMI is not as complicated as it may seem.
By following the steps above, you can easily enjoy an immersive audio experience in the comfort of your own home.
Whether you’re a home entertainment enthusiast, an audiophile, or a tech-savvy consumer, connecting your soundbar to your TV with HDMI is a great way to enhance your entertainment experience.