
To set up your 7.1 surround sound amplifiers, start by placing your speakers correctly: center at ear height and side surrounds slightly above. Connect everything with high-quality cables, ensuring to maintain proper polarity—nobody likes a sound mix-up! Once connected, fine-tune the audio using your receiver’s calibration tools to balance output levels. It’s a lot like tuning a musical instrument, and trust me, it’s worth it for an immersive experience. Stick around to reveal more tips for optimizing your setup!
Key Highlights
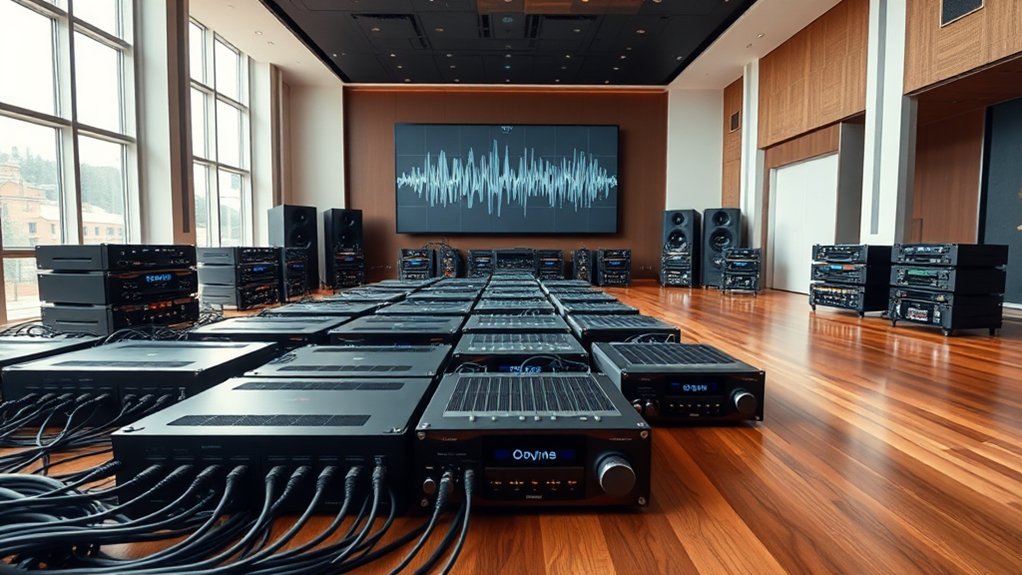
- Select a compatible audio source and ensure all components, including amplifiers and speakers, are appropriately matched for a 7.1 system setup.
- Position amplifiers on sturdy shelves with proper airflow, avoiding interference from other devices during setup to prevent overheating.
- Connect speakers and the subwoofer using high-quality cables, ensuring correct polarity and labeling for easier adjustments during calibration.
- Place front speakers at ear height in an equilateral triangle with the listening position for optimal clarity and immersive sound.
- Use AV receiver calibration tools to balance output levels across channels, and adjust speaker distances for precise audio performance.
Understanding 7.1 Surround Sound Basics
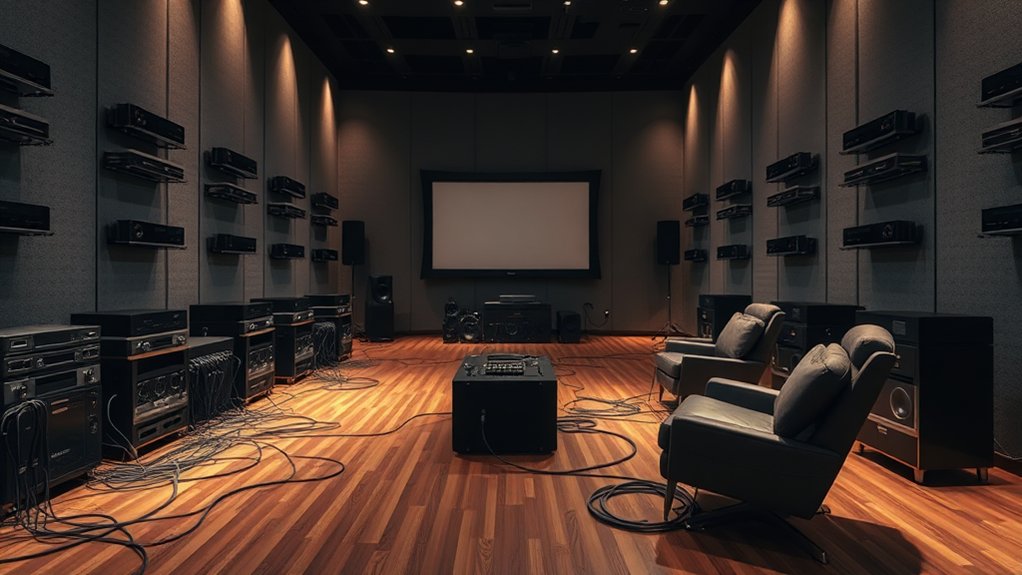
Imagine stepping into a cinematic adventure where sound doesn’t just come from a single direction, but envelops you from all angles. That’s the essence of a 7.1 surround sound system, which features eight channels—seven speakers and one subwoofer. With your front left, center, right, and side speakers, along with rear speakers, you’re positioned for an expansive audio experience. Ever wonder why you can pinpoint that creeping sound behind you? It’s thanks to the separate side and rear surrounds, providing sharper sound directionality compared to a 5.1 system. Additionally, the advanced audio formats supported by modern home entertainment systems enhance your experience even more. Proper speaker placement is crucial to achieving optimal surround sound effects by ensuring each speaker is positioned based on your room’s layout. And let’s not forget the subwoofer, delivering those thunderous low frequencies that shake your seat. Upgrading to 7.1 isn’t just about quantity; it’s about a richer, more immersive soundscape that transforms how you enjoy movies and games.
Proper Speaker Placement and Configuration
Have you ever wondered how the arrangement of your speakers can make or break your sound experience? Proper placement transforms your audio from merely good to outright immersive.
Speaker arrangement can elevate your audio experience from good to truly immersive; placement is key for optimal sound.
For starters, place the center speaker directly above or below your screen, with left and right front speakers forming an equilateral triangle with your listening position, ensuring they’re at ear level or slightly raised, angled towards you. Common formats such as 5.1 or 7.1 surround sound configurations help you choose the right setup for your space. A well-placed center speaker maintains ear height for seated position, which is crucial for optimal sound clarity. Incorporating advanced audio technologies like Dolby Atmos can further elevate your home theater experience.
Surround speakers should flank you, positioned at or above ear height to envelop you in sound. Don’t forget your subwoofer; it loves corners!
And if you’re going for overhead effects, position height speakers directly above or slightly in front. Remember, aiming all speakers towards your central position is essential for that sweet sound focus.
Trust me, your ears will thank you.
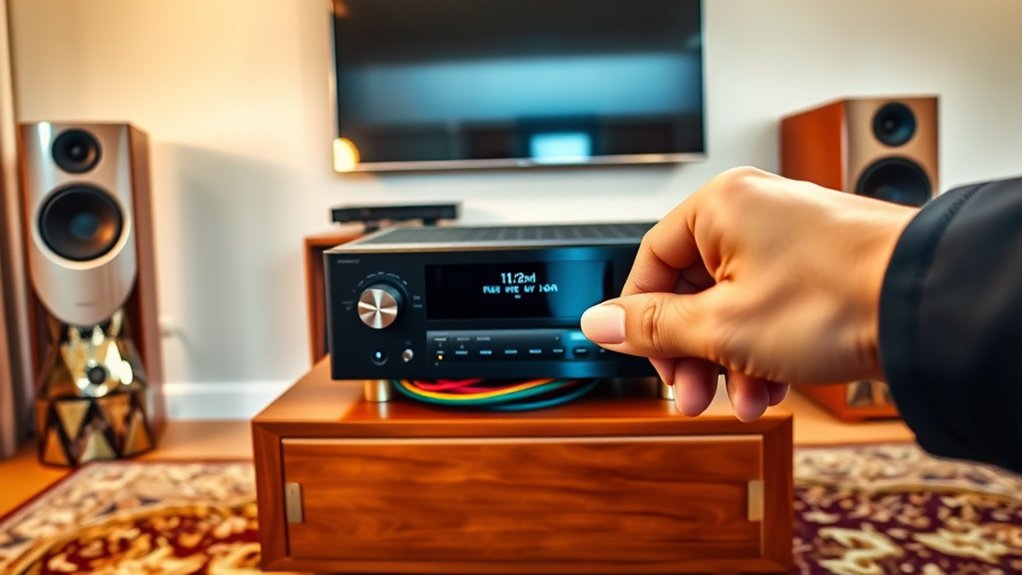
Connecting and Setting Up Your Amplifier

When connecting and setting up your amplifier, it’s essential to take into account not just the physical placement but also the complexities of wiring and ensuring compatibility with your audio components.
Start by positioning the amplifier on sturdy shelves, away from other devices to avoid bothersome interference. It should sit at ear level to improve sound dispersion, leaving a few inches of clearance for proper airflow—no one wants their equipment overheating, right? Additionally, it’s crucial to consider the importance of adequate ventilation to prevent overheating and prolong the amplifier’s lifespan. Ensuring proper airflow helps maintain optimal performance and can extend the life of your equipment.
Use high-quality cables for connectivity, ensuring secure connections and proper polarity to match your speakers. Label your cables, making things easier during adjustments.
Finally, don’t skimp on ventilation; if your amplifier’s trapped in a cabinet, consider adding a fan to keep it cool.
Fine-Tuning for Optimal Audio Performance
To achieve that pristine audio experience you’ve always dreamed of, fine-tuning your surround sound system isn’t just important—it’s essential.
Start by positioning your front speakers at ear height and fiddling with their placement to find the sweet spot. You want that clear imaging right in the center!
Next, guarantee both left and right speakers are equidistant from your listening position—no one likes an audio lopsidedness, right?
Ensure your left and right speakers are evenly placed for a perfectly balanced sound experience.
Using your AV receiver’s calibration tools, balance output levels across all speakers.
Don’t forget the subwoofer; place it wisely and tweak the volume after calibration for a fuller bass.
Finally, consider your room’s acoustics—soft furnishings and carpets can work wonders, absorbing unwanted reflections.
Happy tuning!
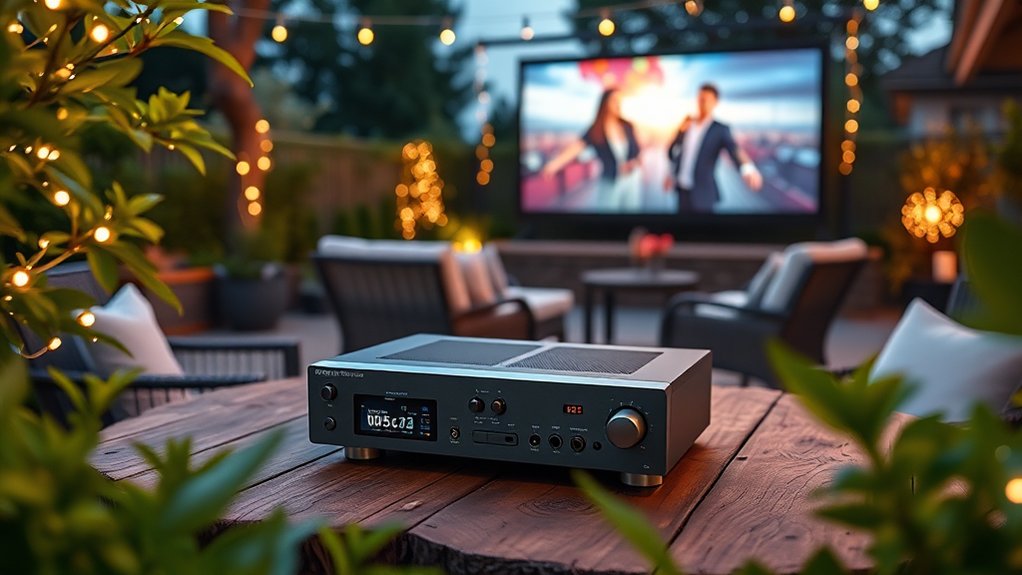
Advanced Integration Options for Enhanced Experience
Achieving ideal audio performance is just the beginning; pushing the boundaries with advanced integration options truly improves your surround sound setup. Instead of juggling a mess of wires, consider Ethernet-based protocols like Dante for audio synchronization—who wouldn’t want that?
For best overhead channels, dedicated amplifiers are your best friends, ensuring your Atmos speakers thrive without the risk of overpowering them. Want seamless adjustments? Integrate volume control accessible through smart home systems, so you can switch tunes with a simple tap—no more peeking behind the gear!
Finally, keep in mind that room calibration tools can make your listening space feel like a concert hall. It’s all about ensuring that sound arrives at your ears in perfect harmony—isn’t that worth pursuing?
Common Mistakes to Avoid When Setting Up
Have you ever wondered why your surround sound system isn’t delivering the immersive experience you’d imagined?
One common mistake is selecting a receiver before choosing your speakers, which can lead to mismatches that limit your system’s potential. Remember, it’s important to pick speakers based on your room size and budget first.
Furthermore, don’t overlook the significance of speaker placement—blocking direct sound paths can confuse the audio like a flashlight blocked by your hand.
And let’s not forget calibration; default settings often ignore vital details.
Finally, verify your wiring is correct—mismatched or loose connections can distort your sound. Additionally, consider the surround sound capabilities of your system to ensure you achieve that desired depth and immersion in your audio experience.
Best Practices for Maintenance and Upgrades
After you’ve meticulously avoided common pitfalls in your surround sound setup, it’s time to think about keeping your system in tip-top shape and examining potential upgrades.
Regularly inspect your amplifiers, targeting dust in ventilation grills and components, as even a small buildup can lead to overheating—who wants a fried amplifier? Clean input/output ports with compressed air for peak connection, and always verify speaker wires are tight and corrosion-free.
Don’t forget to check for any frayed power cables; safety first!
As for upgrades, investing in quality speaker cables can greatly improve sound clarity. Plus, consider firmware updates to stay compatible with the latest formats.
Frequently Asked Questions
Can I Use Any Type of Speaker With a 7.1 Amplifier?
You can’t use just any speaker with a 7.1 amplifier. Make certain to match impedance ratings, power handling, and design to guarantee the best audio performance and avoid damaging your amplifier or degrading sound quality.
Does the Amplifier Need to Be in a Specific Location?
No, the amplifier doesn’t need to be in a specific location. Just make certain it’s easily accessible, close to your media components, and away from heat sources or electromagnetic interference for best performance.
How Do I Know if My Room Needs Acoustic Treatment?
If you notice excessive echoes, muddiness, or uneven bass, your room likely needs acoustic treatment. Assess hard surfaces, reflection points, and speaker placement to improve your audio clarity and overall listening experience.
What Is the Difference Between Analog and Digital Audio Connections?
Analog audio connections transmit continuous signals for a warmer sound, whereas digital connections use numerical data for precision and clarity. You’ll notice differences in fidelity, noise susceptibility, and the type of equipment you can connect.
How Can I Troubleshoot if My Sound Is Not Working?
If your sound isn’t working, check all connections, ensuring they’re tight and undamaged. Test different cables, verify settings on your receiver, and swap speakers to isolate the issue. Ultimately, consider resetting your device.