
To install rack mount AV amplifiers, first, create an inventory of your gear and choose a closed frame rack for better organization. Mount the amplifiers from the bottom up, ensuring to leave 2 inches for ventilation. Organize and label your cables to avoid tangles—trust me, it makes life easier! Don’t forget surge protection and cooling options, so your gear doesn’t overheat. Once everything’s in place, power up the system, and enjoy fine-tuning your setup for peak performance! Stick around for more insights!
Key Highlights
- Create a detailed inventory of amplifiers, noting dimensions, weights, and required cable types before starting installation.
- Securely mount amplifiers starting from the bottom, ensuring proper ventilation space and thermal management practices.
- Neatly bundle and label cables for easy identification and organization, preventing tangling and simplifying troubleshooting.
- Connect amplifiers to a stable power source and implement surge protection, ensuring adequate ventilation to avoid overheating.
- Follow initialization prompts and adjust audio and video settings after powering on the system for optimal performance.
Preparing for Installation

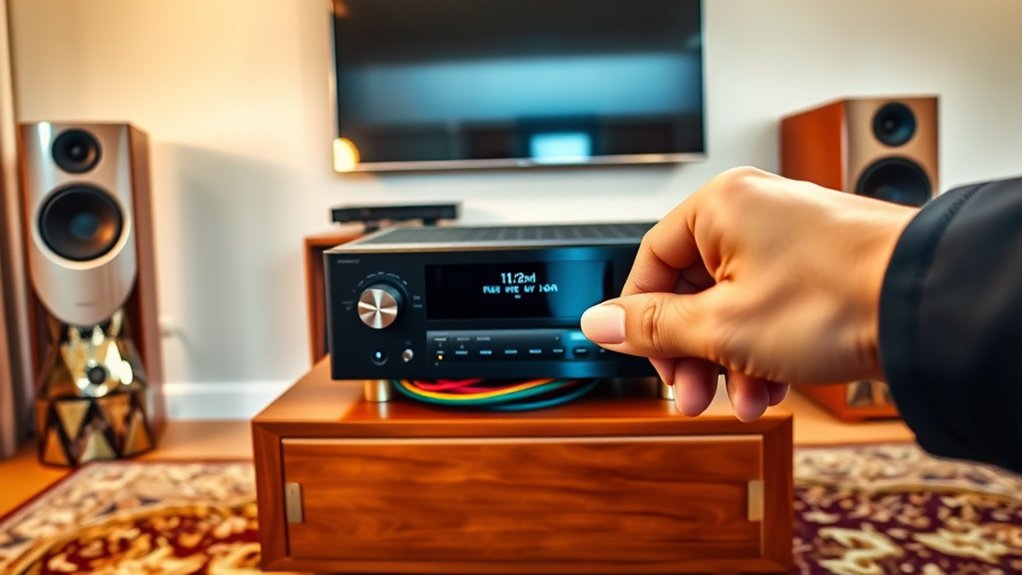
When you’re gearing up to install rack mount AV amplifiers, it’s vital to first take a methodical approach to your preparation, or you might find yourself in a tangled mess of cables and components later on.
Start by creating a detailed inventory of your amplifiers and related equipment, noting physical dimensions and weights. This helps guarantee everything fits properly and your rack can support it all. It’s essential to choose a closed frame rack for better protection and wiring concealment.
Next, physically arrange the amplifiers in the intended rack layout, allowing at least 2 inches for ventilation. Consider using a DIY car amp rack to keep your setup clean and professional-looking.
Don’t forget to use rack unit measurements to determine your needs.
Finally, keeping track of cable types and clearances will save you countless headaches down the line—because who wants to play cable limbo?
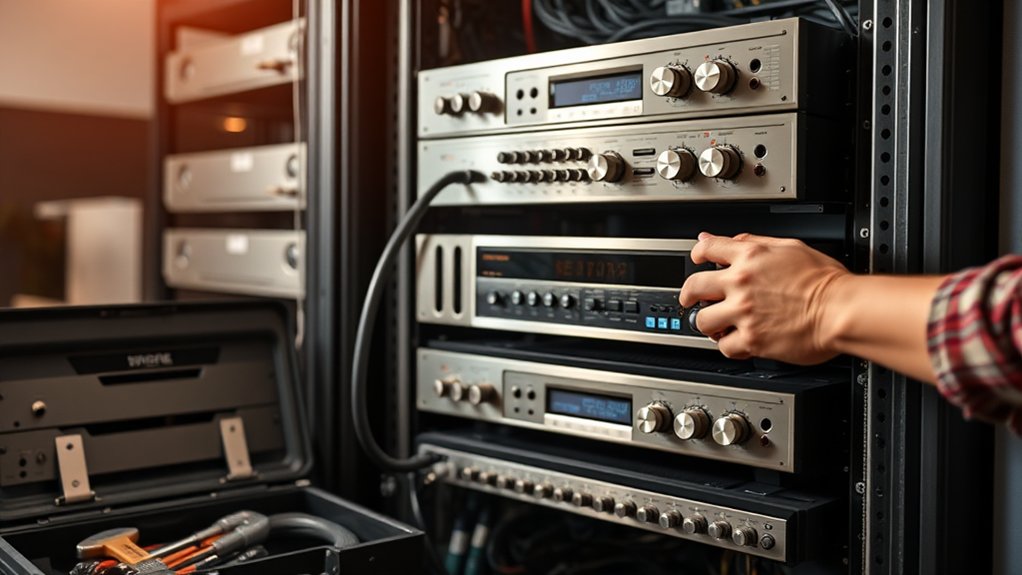
Mounting the Amplifiers
Now that you’ve set the stage for your rack mount AV amplifiers, it’s time to get them securely mounted. Start by attaching the rack mounting brackets to the amplifier chassis—make certain they’re snug but don’t over-torque those screws. When placing amplifiers in the rack, work from the bottom up; it’s like building a LEGO tower, where the foundation keeps everything stable. If you’re tackling this alone, tip the rack back for easier access, though a helping hand never hurts—with heavy amplifiers, safety’s key. It’s also wise to consider utilizing the ACM micro amplifier as part of your setup to maintain a compact and efficient design.
To ensure proper functioning and longevity, always remember to incorporate thermal management practices such as avoiding solid shelves and considering blanking panels. Trust me, your equipment will thank you for avoiding a high heat drama!
Cable Management and Wiring
Even though you might think that installing rack mount AV amplifiers is all about the equipment itself, don’t overlook the vital role of cable management and wiring in facilitating a successful setup.
You should bundle cables neatly with reusable ties or Velcro straps, as they make future adjustments easier and avoid any cutting hassle. Keep related cables together and secure them along the rack edges to prevent tangling—because who wants a messy rat’s nest of wires? Additionally, proper organization ensures simplified troubleshooting and enhances overall system performance.
Don’t forget to label both ends of each cable consistently; a color-coded system can make identifying connections simpler. Finally, make sure cables have enough slack to allow for easy movement and maintenance, helping you avoid any premature wear or signal degradation.
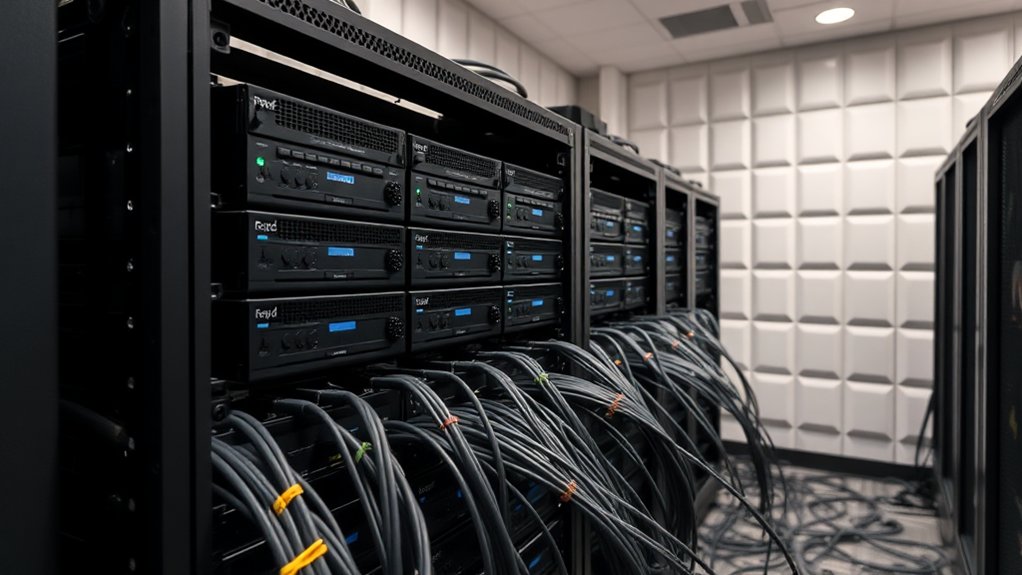
Power and Ventilation Considerations
As you’re gearing up to install your rack mount AV amplifiers, it’s crucial to keep power and ventilation at the forefront of your mind—after all, what’s the use of high-quality equipment if it can’t run smoothly?
First, verify your amplifiers are connected to a stable power source, ideally between 100VAC and 240VAC, to meet their wattage demands. Don’t forget proper surge protection, since no one wants their gear fried from a simple power spike.
Now, let’s chat about ventilation: these beasts generate heat, so install cooling fans and leave space between amps for airflow.
Think of it like giving your amplifiers a little breathing room—after all, they’re not fans of being crowded! Monitor ambient temperatures, and your setup will thrive.
Equipment Layout and Accessibility
When setting up your rack mount AV amplifiers, the arrangement can make all the difference! Group similar equipment—like amplifiers, media players, and networking devices—together for easier access and understanding.
For instance, placing media players near networking devices simplifies connections. Want to avoid a maze of cables? Position audio gear, including your amplifiers, together to minimize cable length and facilitate troubleshooting.
Don’t neglect weight considerations: heavier components should sit lower in the rack to improve stability and avoid tipping. Design the layout for easy access to connectors and ample space for cabling, ensuring maintenance is a breeze.
Final Setup and Testing
Setting up your rack mount AV amplifiers doesn’t end with just plugging everything in; in fact, it’s often the most crucial phase of your installation expedition.
First, power on the amplifier and receiver, following any on-screen prompts to initialize. Then, explore audio settings—adjust speaker sizes and distances as you optimize with calibration tools.
Don’t forget video settings; verify everything matches your display for crystal-clear images. Next, confirm all source devices are securely connected and cycle through inputs. Is your audio clear, or do you hear distortions?
Finally, check mounting stability—ensure everything’s securely fastened and ventilated, avoiding overheating issues. After all this, are you ready for a final performance test? It’s showtime!
Frequently Asked Questions
What Are the Weight Limits for Rack-Mounted Amplifiers?
Weight limits for rack-mounted amplifiers typically range from 2 kg to 12 kg. Smaller designs weigh less, whereas larger, high-power amps require stronger racks. Always consult specifications to avoid structural issues and guarantee safe installation.
Can I Use Non-Rack Mount Amplifiers in a Rack?
Yes, you can use non-rack mount amplifiers in a rack, but make certain you have proper mounting solutions, ventilation, and clear access for connections. Consider thermal management to avoid overheating and maintain peak performance.
How Can I Ensure the Safety of My Equipment?
To guarantee your equipment’s safety, always ground properly, unplug devices before handling, use appropriate mounting hardware, maintain ventilation, and organize cables efficiently. Regularly inspect everything to prevent wear or damage that could lead to hazards.
Do I Need a Professional for Installation?
You don’t necessarily need a professional for installation, but if you’re unsure about wiring or managing complex systems, hiring one guarantees safety, proper setup, and best performance, avoiding costly mistakes down the road.
What Is the Average Cost of Rack-Mounted Amplifiers?
The average cost of rack-mounted amplifiers varies widely. Entry-level models start around $600, whereas mid-range options can reach $1,250, and high-power amplifiers may go up to $1,600, depending on features and specifications.