When setting up your theater room, it’s essential to assess your power needs properly. Verify outlets are optimized, especially with dedicated circuits for your gear, to prevent that annoying “Demon Hum.” Consulting a licensed electrician guarantees a safe install that sticks to local codes. Don’t forget about cable types—like XLR for audio clarity. Plus, a tidy space is a happy space, so effective cable management makes the whole experience smoother. And there’s more to investigate about maximizing your setup!
Key Highlights
- Upgrade to dedicated circuits for amplifiers and subwoofers to improve performance and prevent overload issues.
- Consult a licensed electrician to ensure compliance with codes and enhance safety features, like GFCIs near water sources.
- Plan outlet placements strategically, with multiple outlets along media walls for future equipment needs and to avoid trip hazards.
- Use quality cables, like HDMI and XLR, and regular maintenance checks to ensure optimal performance and safety in your theater system.
- Implement effective cable management solutions to minimize interference and maintain a clean, aesthetic look in your theater room.
Assessing Power Requirements for Your Theater Equipment
When setting up your theater room, understanding the power requirements for your equipment is crucial, especially if you want everything to run smoothly without any unexpected interruptions—or worse, a blown breaker during your favorite scene.
Start by checking your outlet ratings; most standard outlets provide 120 volts at 15 amps, giving you a maximum of 1,800 watts. If you’ve got heavier-duty components, consider upgrading to 20 amp outlets for an additional 600 watts.
Check your outlet ratings: standard outlets offer 120 volts and 15 amps, while 20 amp upgrades boost your power capacity significantly.
Assess each device’s power consumption; amplifiers and subwoofers often require dedicated circuits to avoid overload. Dedicated outlets not only prevent issues like flickering lights but also ensure your system can deliver its full performance during those high-energy moments. Additionally, using grounding techniques can further protect your equipment and enhance safety during operation.
Think about it this way—would you share a lifeline with a leaky boat? Exactly! Distributing power wisely not only protects your gear but significantly improves performance, making your movie nights a true delight.
Consulting With a Licensed Electrician
You might think tackling the electrical setup for your theater room is a straightforward task, but bringing a licensed electrician into the mix can make all the difference.
They guarantee your installation meets local codes, so you don’t end up with a shocking surprise later. Electricians assess the unique power demands of your equipment and can design layouts that fit your vision—think strategic outlet placements and safety features like surge protection. Additionally, they ensure all standard receptacles are tamper-resistant to enhance safety, especially in households with children. Furthermore, they often use credible research to inform their approach to installations.
Plus, they prevent the risk of electrical faults that could fry your new gear or, worse, ignite a fire. You wouldn’t want a DIY approach leading to catastrophic consequences, right?
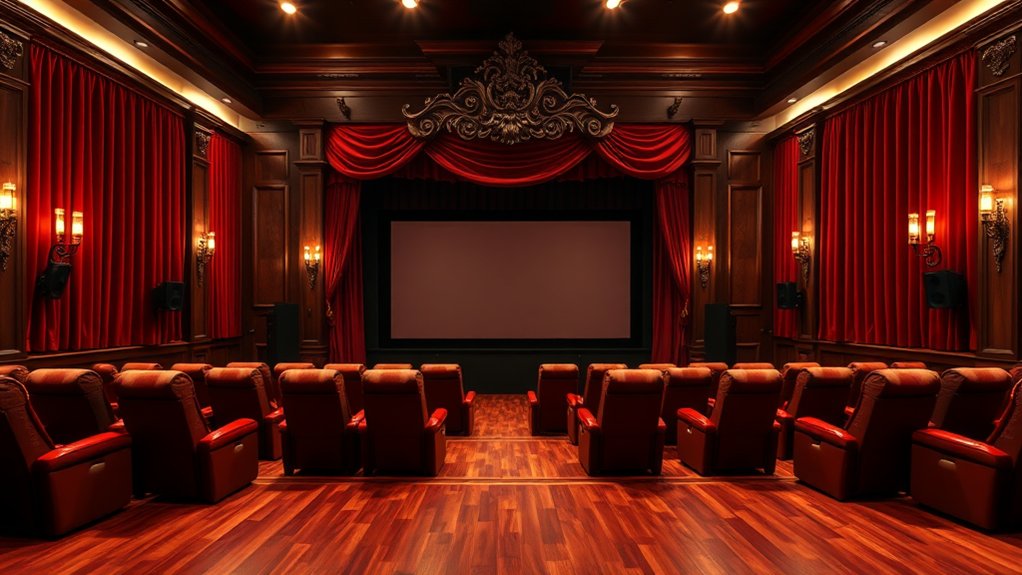
Optimizing Electrical Outlet Placement
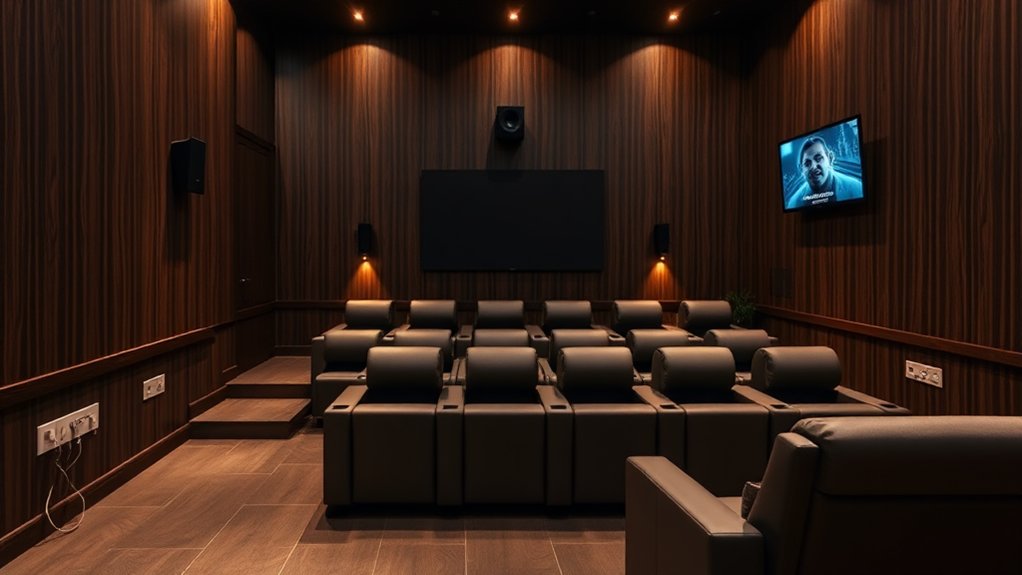
Optimizing electrical outlet placement in your theater room isn’t just about convenience; it’s essential for creating an inviting and functional space.
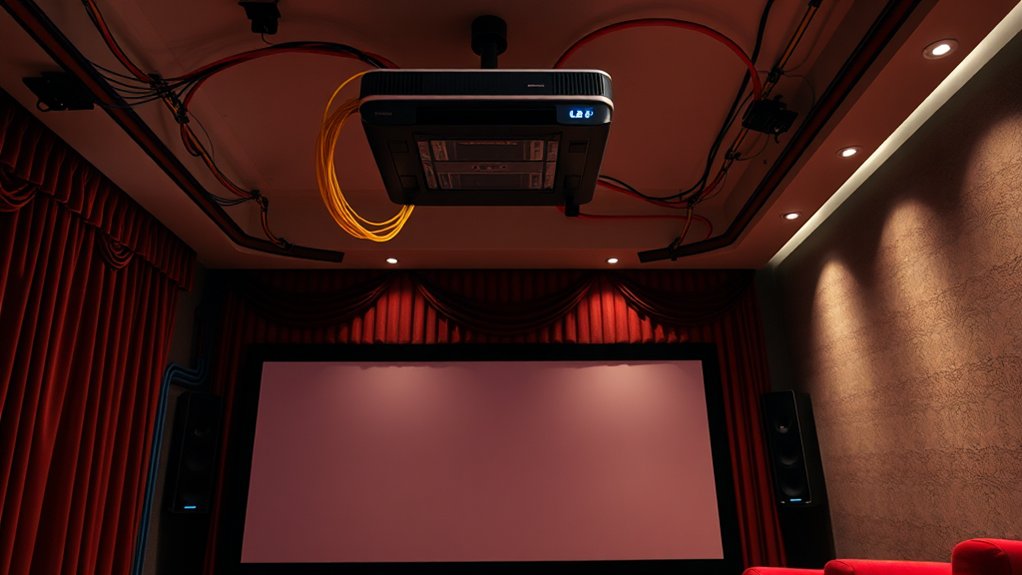
Start by placing outlets behind wall-mounted TVs to hide unsightly power cords, enhancing aesthetics. For projectors, dedicated outlets prevent those annoying extension cord mishaps. Be mindful of sufficient power supply to ensure that your equipment operates without interruptions.
Consider floor outlets near seating areas—no one wants to trip over a cable whenever reaching for their gaming console. Space multiple outlets along media walls to accommodate future devices and configurations. Don’t forget outlets near soundbars or speakers for neat wiring. Finally, consult with AV installers to guarantee you’re ready for evolving tech.
After all, who doesn’t love a setup that can adapt, right?
Circuit Breaker Configurations for Home Theaters
Circuit breaker configurations play a crucial role in the seamless enjoyment of your home theater experience. Using dedicated circuits helps isolate power for your equipment, reducing interference from other household devices.
Imagine this: a single 15-amp breaker shared with various outlets can spell disaster for your sound system’s performance. Instead, opt for separate breakers—20A or even 30A—with appropriately gauged wiring to improve electrical stability.
Also, verify all your equipment’s circuits align on the same electrical leg to dodge the dreaded “Demon Hum.” That annoying hum isn’t just an auditory nuisance—it can ruin your viewing pleasure!
Understanding Cable Types and Wiring Techniques
In any home theater setup, understanding the right cable types and wiring techniques can make a world of difference in achieving that cinematic experience you crave.
You’ve got RCA cables for basic audio needs, but if you want professional quality, consider XLR cables with their noise resistance—who doesn’t like a little clarity in sound?
Coaxial cables can transmit both audio and video, whereas component video cables shine for high-def video.
Coaxial cables deliver audio and video, while component video cables excel in high-definition visual clarity.
Don’t forget HDMI cables; they’re practically crucial for modern systems!
As you plan your wiring, prewire when you can and leave some cable slack, making future adjustments easier.
Conceal those wires neatly with channels and manage them smartly to reduce interference—like wrangling cats but easier!
Implementing Surge Protection for Electronics
Creating a home theater without implementing surge protection can be like leaving your prized movie collection out in the rain—it’s just asking for trouble!
Surge protectors, with varying joule ratings, can save your expensive electronics from power surges. For high-end setups, look for protectors rated above 1,000 joules; the higher the rating, the better the safeguard.
Power strips with integrated surge suppression are convenient, but consider advanced power conditioners for added noise filtration too. They help eliminate interference that can ruin your movie night experience.
Plus, make sure you have enough outlets for all your devices, including USB ports and coaxial protection.
Ensuring Maintenance and Future-Proofing
After you’ve invested in strong surge protection for your home theater, it’s time to think about how to keep everything running smoothly and efficiently in the long run.
Regular inspections are essential—make it a habit to check and tighten electrical connections, which prevents overheating. Remember, a heightened temperature often signals a fault.
Regularly inspect and tighten electrical connections to prevent overheating; elevated temperatures could indicate underlying issues.
When designing your theater, map out all components and add extra outlets for future needs. Don’t overlook estimating power demand; dedicated circuits for high-demand gear can save you from headaches later.
Finally, establishing a maintenance routine, including cleaning and updating firmware, keeps your system in peak condition. It’s like giving your theater a wellness checkup—who wouldn’t want that for their prized setup?
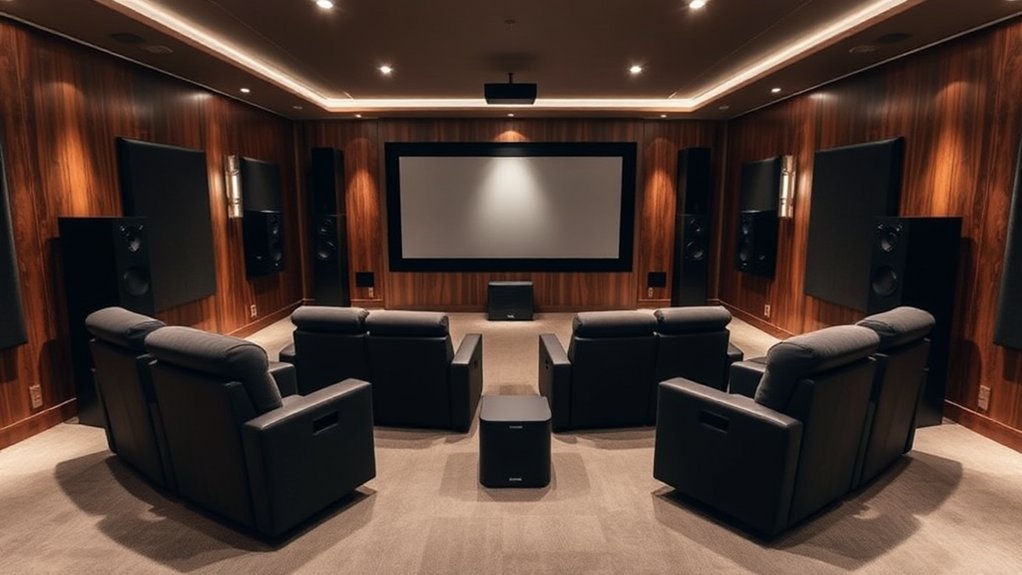
Addressing Acoustic Considerations in Wiring
When you’re setting up a theater room, considering speaker placement and the accompanying wiring isn’t just an afterthought—it’s a crucial step that greatly impacts sound quality.
To maintain that pristine audio experience, run your speaker wires behind or between acoustic treatments. This simple choice can reduce unwanted sound diffraction by keeping cables from crossing acoustic panels.
Furthermore, steer clear of large cable bundles in reflective zones; they scatter sound and spoil your acoustics. Oh, and avoid wiring on hard surfaces—uninsulated wires can cause vibrations that muddle your audio.
By using conduits embedded in acoustic panels, you keep wires discreet and sound-friendly.
It may seem minor, but these tweaks can make a world of difference. Trust me, your ears will thank you!
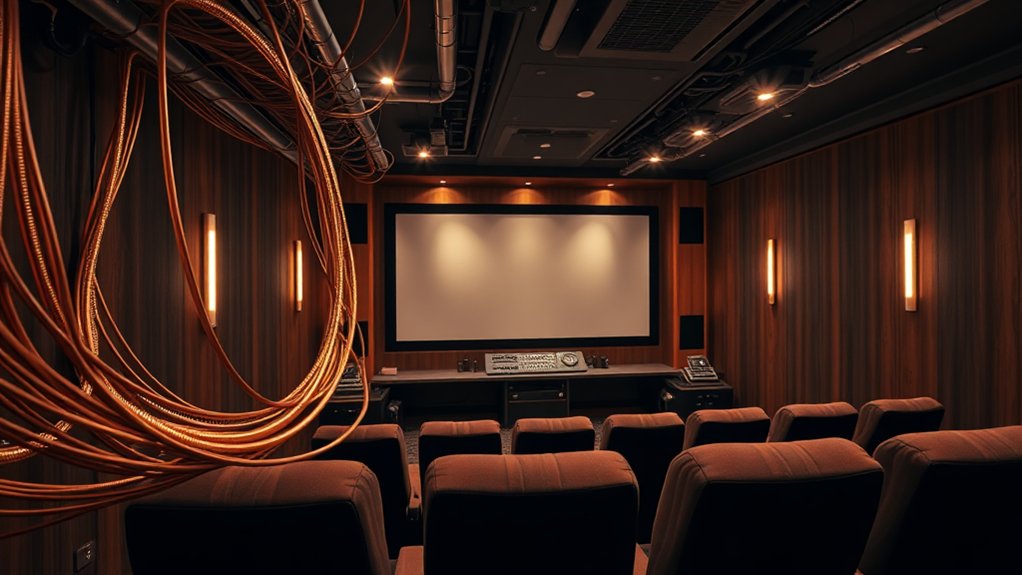
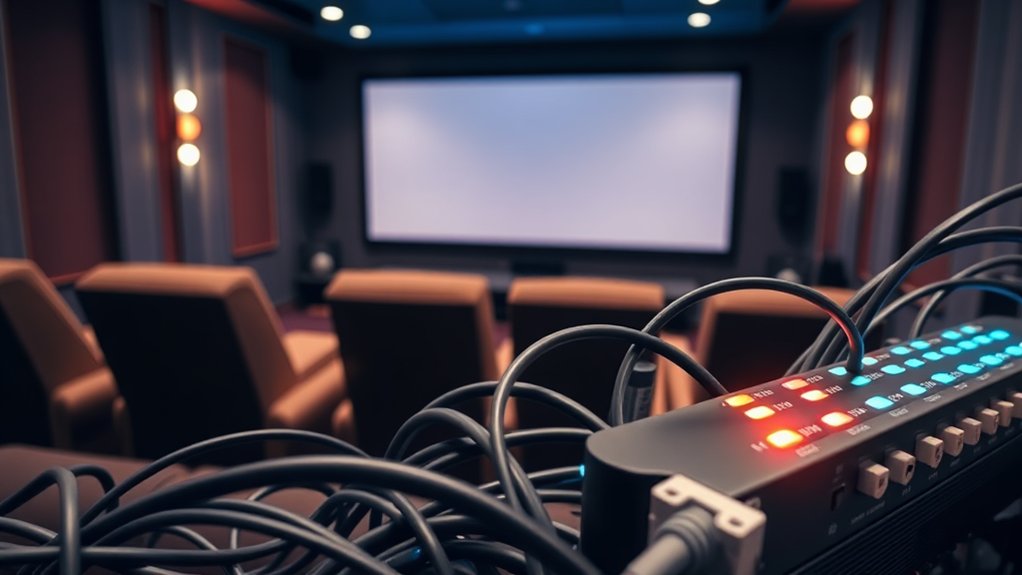
Cable Management Solutions for Neat Organization
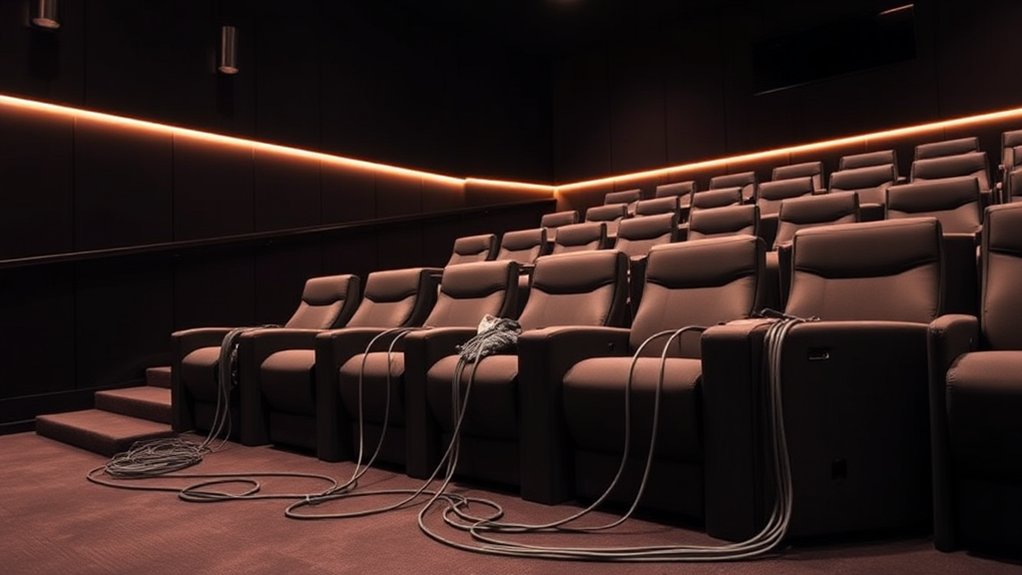
Achieving that cinematic sound experience in your theater room isn’t just about speaker placement and wiring; it’s also considerably influenced by how you manage those cables.
Start by bundling your cables using reusable wire ties, but don’t overtighten them—those insulation layers are delicate! Separate your A/V cables from power cables to dodge interference, and label everything for easy troubleshooting later.
You can hide unsightly cables with raceways or in-wall wiring, giving your room that neat, professional look. For the ultimate organization, consider cable sleeves or adhesive-backed clips that won’t damage your walls.
Planning cable routes is key, too, ensuring they’re accessible for future upgrades. Think of your setup like spaghetti—neat arrangements create a much tastier experience!
Following Electrical Safety Codes and Regulations
Understanding and following electrical safety codes and regulations isn’t just a box to check—it’s crucial for ensuring your theater room operates safely and efficiently. All installations must comply with the National Electrical Code (NEC) and local ordinances.
This means ensuring your equipment is properly grounded, with continuity maintained to avoid hazardous voltages. Did you know the first connection should always be the equipment ground, followed by neutral and live wires? It sounds a bit like an electrical performance, doesn’t it?
Remember to incorporate GFCIs near water sources, and replace any faulty fixtures immediately. A well-regulated setup not only improves performance but furthermore minimizes risks—so invest the time now, avoiding shocking surprises later. Your theater room will thank you!
Frequently Asked Questions
What Tools Are Essential for Home Theater Wiring Projects?
For home theater wiring projects, you’ll need crucial tools like a wire stripper, crimping tool, Phillips screwdriver, pliers, electric drill, stud finder, and fish tape. These help guarantee a successful, organized installation of your system.
How Do I Choose the Right Electrical Outlets for My Theater?
To choose the right electrical outlets for your theater, consider the power requirements of your devices. Use 20A outlets for high-demand equipment, and carefully plan placements to reduce noise and guarantee easy access for future upgrades.
What Is the Lifespan of Standard Electrical Wires in a Theater Setup?
Standard electrical wires typically last 30 to 40 years if you use copper, whereas aluminum wires last around 25 to 30 years. Proper installation and maintenance can considerably extend their lifespan, ensuring reliable performance for you.
Can I Install Electrical Components Myself, or Should I Hire a Pro?
You can install electrical components yourself if you’re knowledgeable and comply with safety codes, but hiring a professional guarantees compliance, safety, and reliability. It’s worth considering expertise to prevent costly mistakes and hazards.
How Often Should I Replace Cables in My Home Theater System?
You should replace cables in your home theater system when you notice sound degradation, oxidation, or physical damage. Regular maintenance can extend their lifespan, so keep an eye on connectivity and cable condition to guarantee peak performance.