Designing a custom home theater stage starts with picking the right room size, ideally around 24 by 15 feet, to avoid sound issues. Consider acoustics; sound absorption panels can help make voices clearer. Next up, your stage should be about 6 to 12 inches high for great sightlines. For seating, keep at least 20 inches between aisles, and arrange seats based on the screen size. Each detail matters—stay tuned to investigate more elements that can enhance your setup!
Key Highlights
- Determine room size and shape for optimal acoustics, favoring rectangular layouts and appropriate height-to-width ratios.
- Construct the stage 6 to 12 inches high, ensuring clear sightlines and sound isolation features.
- Design tiered seating risers of 8 to 12 inches for multiple rows of seating to enhance visibility.
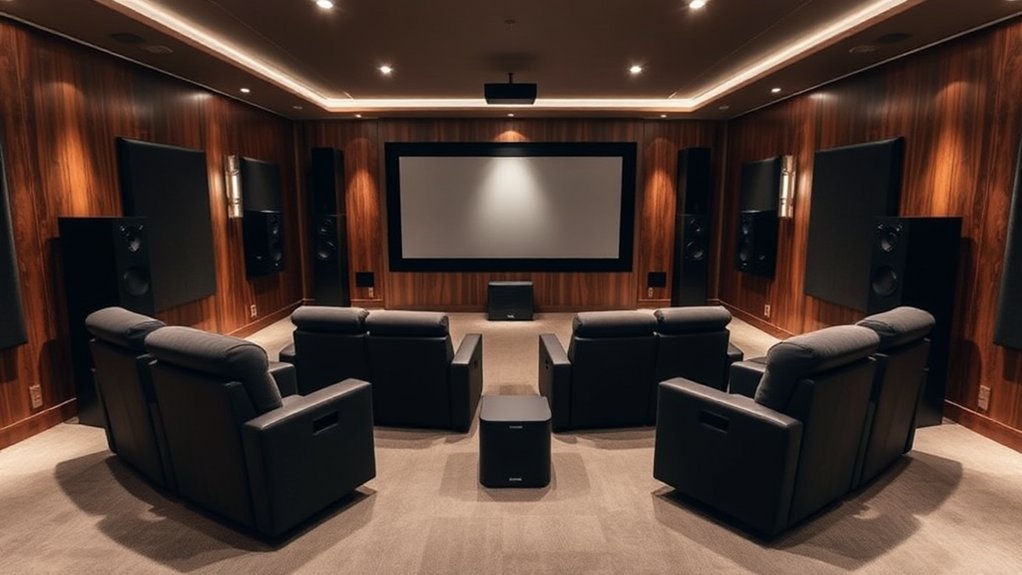
- Use high-quality audio-visual equipment and position speakers for balanced sound distribution to elevate the viewing experience.
- Integrate smart technology for seamless control of lighting, sound, and visual elements to personalize the home theater experience.
Determining the Ideal Room Size and Layout
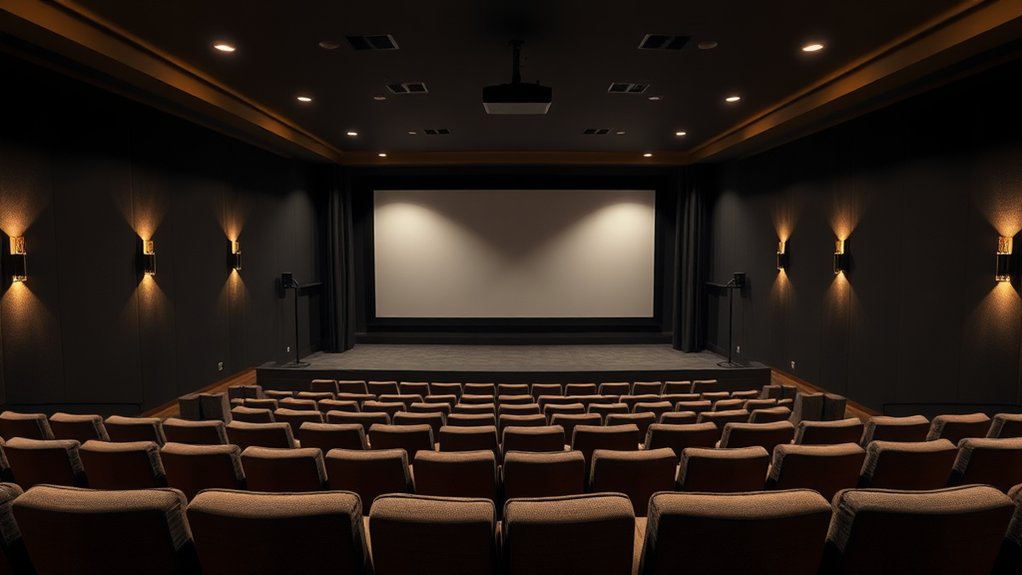
When designing a home theater stage, the first step you should take is determining the ideal room size and layout, since these aspects can greatly impact your viewing experience (and let’s be honest, you want that experience to be phenomenal, right?). Aim for a room about 24 feet by 15 feet with a 9-foot ceiling—this size lets you optimize seating and sound. If that’s not possible, a minimum of 15 by 20 feet will do. Rectangles are your friend here; avoid long or narrow spaces that create sound issues. An ideal height-to-width ratio of 1.5:1 to 2:1 too helps the acoustics, ensuring you hear every thrilling moment clearly, as it should be in a home theater! Additionally, striving for rectangular room shapes will provide optimal sound control and setup flexibility. To further enhance the acoustics, consider implementing sound absorption, insulation, and masking methods for an immersive audio experience. The use of advanced audio technologies can significantly elevate your cinematic experience, making sure every sound is heard as intended.
Planning the Stage and Riser Construction
To create an effective home theater stage, it’s essential to carefully plan its construction, ensuring that both the stage and risers meet the demands of your audio-visual setup. Aim for a stage height between 6 to 12 inches to maintain clear sightlines, whereas the depth usually ranges from 4 to 8 feet, depending on your speakers. For tiered seating, risers should be 8 to 12 inches high per row to prevent obstructed views. Use sturdy materials like plywood or MDF to build a strong platform, and don’t forget to include sound isolation features. Additionally, consider the stage’s structural integrity to ensure it supports the weight of your equipment without collapsing or vibrating. After all, who wants a stage that vibrates like a rock concert instead of delivering crystal-clear audio? Employing techniques such as floating stage construction can significantly enhance sound isolation, preventing audio leakage to adjacent rooms. Plan wisely, and your setup will shine!
Essential Acoustic Treatments for Optimal Sound
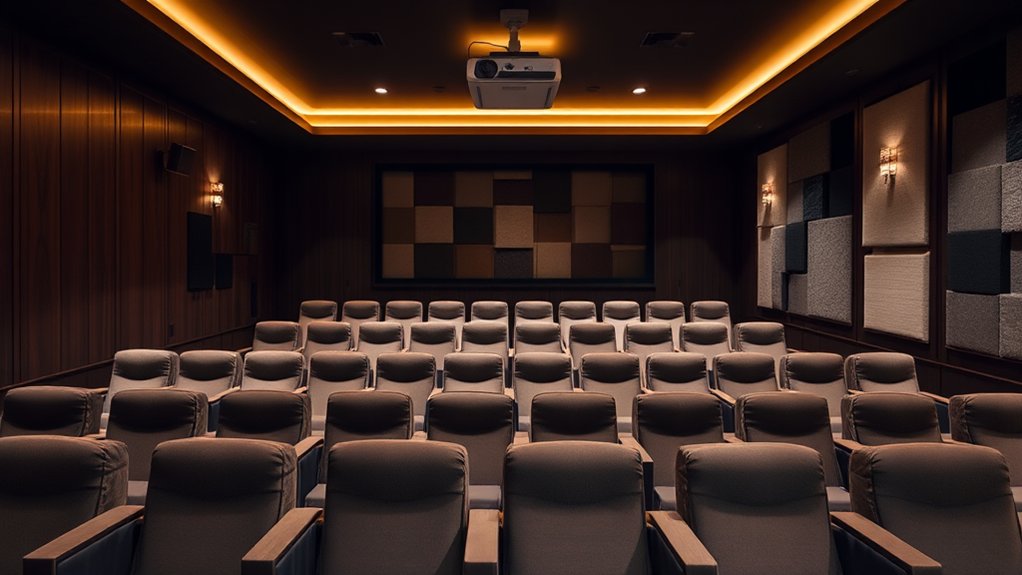
Building a home theater stage is just the start; creating an immersive experience for your audience requires paying attention to the acoustics as well.
You’ll want to use absorption panels, which reduce echoes and improve dialogue clarity. Materials like high-density foam or fiberglass work best when placed at the first reflection points—otherwise, sound waves just scatter, creating muddiness. Proper placement of these components is crucial for optimal performance, considering the room dimensions and usage.
Aim to cover 60-70% of room surfaces with absorptive materials, avoiding too much absorption that makes your space sound “dead.”
Don’t forget about diffusion techniques; scattering sound helps prevent audio dead zones. Finally, bass traps absorb low frequencies, keeping your sound crisp rather than boomy.
After all, wouldn’t you want your audience to hear every line, loud and clear?
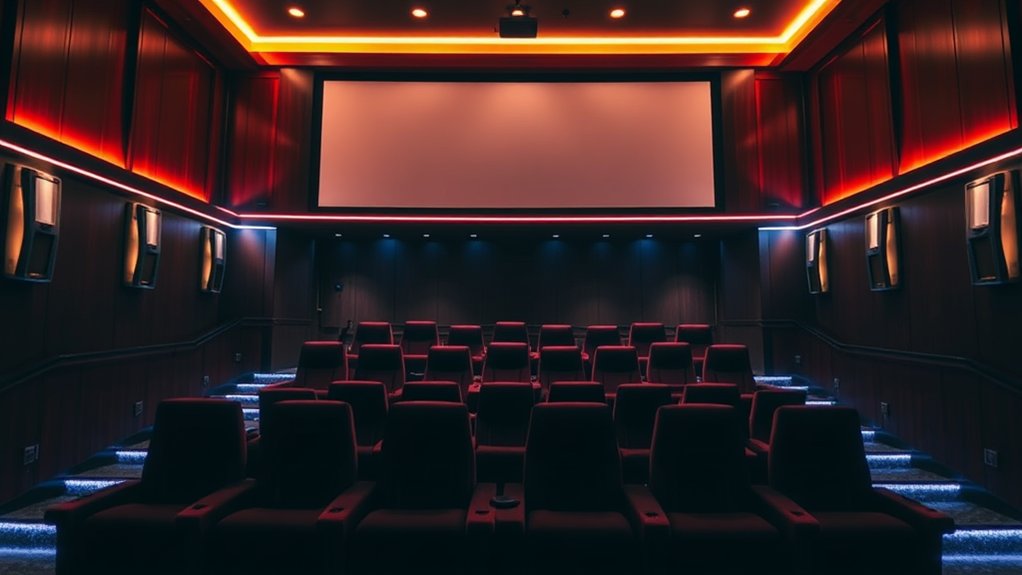
Selecting Visual Equipment for Your Theater
Selecting visual equipment for your home theater can feel like maneuvering through a maze, but it’s one of the most rewarding aspects of the setup.
First off, you’ll need to choose between a projector and a TV. If you’re after a cinematic experience and have the room size, projectors can offer massive screens, often exceeding 70 inches, but they do require ideal lighting conditions. Conversely, TVs provide consistent brightness and color accuracy without additional fuss.
Then, think about screen quality; a fixed-frame screen can improve your viewing experience by reducing wrinkles.
And don’t forget about your receiver, which acts as the hub for all devices, ensuring smooth synchronization.
Isn’t it fun designing your dream cinema?
Designing Comfortable and Functional Seating
During designing your home theater’s seating might seem like just another detail, it actually sets the tone for your entire viewing experience, impacting everything from comfort to safety.
First, accurately measure your room’s dimensions, noting any obstructions like doors and windows. Confirm at least 20 inches of aisle width for easy navigation—after all, nobody wants to do a tightrope act as they’re carrying snacks!
For ideal viewing, place seats 1.5 to 2.5 times the screen’s diagonal distance away; a 65-inch screen calls for 8 to 13 feet. Consider comfort options like recliners with cup holders or sectionals for social seating.
Don’t forget accessibility and safety; easy access can be a lifesaver, especially during a thrilling movie climax.
Setting Up Electrical and Wiring Infrastructure
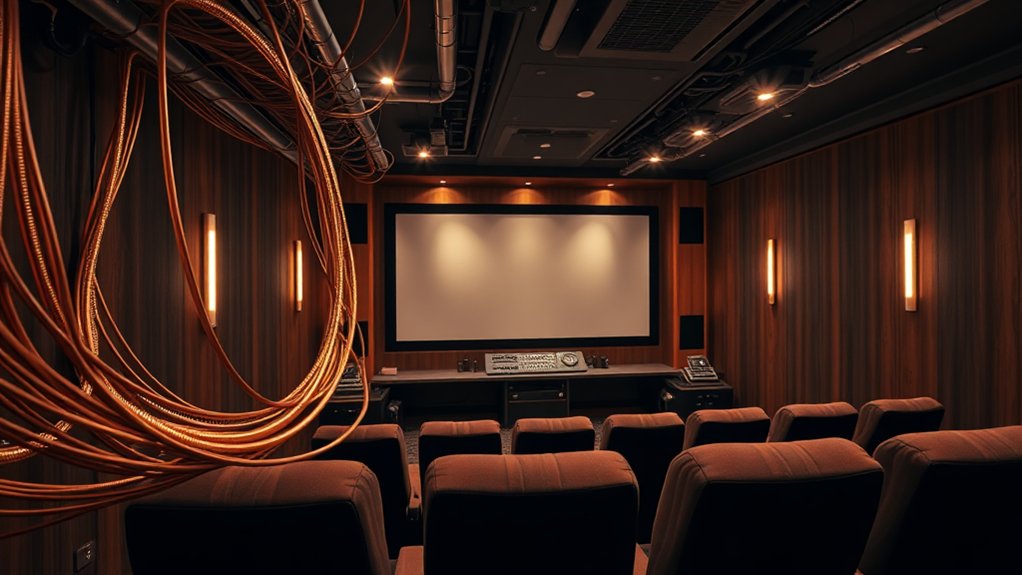
Even though you might be tempted to plunge straight into choosing your favorite movie snacks, setting up the electrical and wiring infrastructure for your home theater is actually where the real adventure begins.
Start by estimating the total power requirements of all your components—projectors, receivers, and speakers—to avoid overloads, and definitely consult a licensed electrician for tailored circuit designs.
Estimating power needs and consulting a licensed electrician are key steps to avoid overloads in your home theater setup.
Plan for extra outlets to keep things neat and minimize visible cables. Opt for a home run wiring scheme that organizes all cables back to a central AV rack and conceal wiring using conduits to protect against damage.
Don’t forget surge protectors; they’re like insurance for your expensive equipment.
With careful planning, you’ll be ready for movie night without any shocking surprises!
Integrating Lighting for a Enhanced Viewing Experience
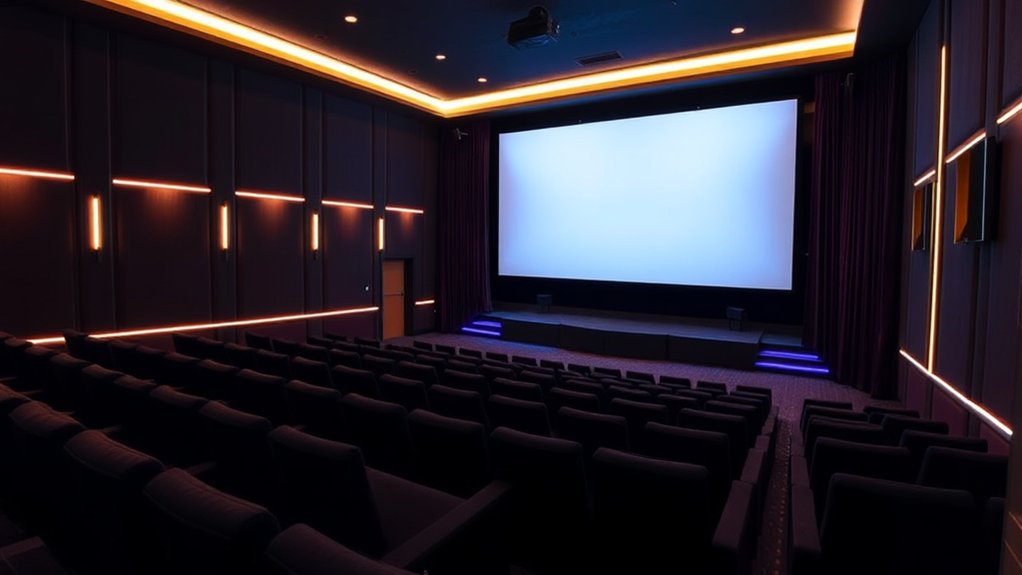
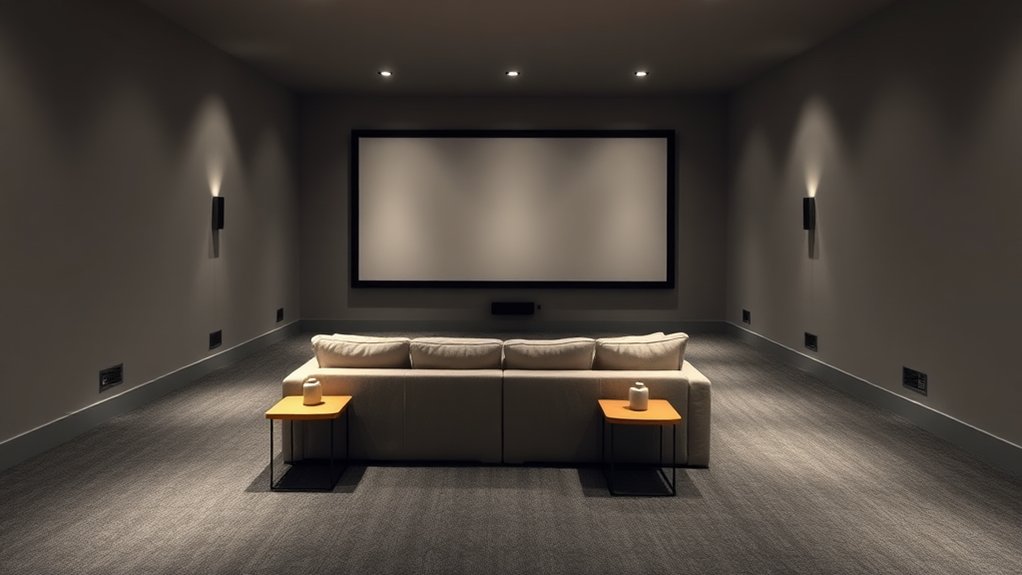
Have you ever walked into a home theater that felt just a bit flat, lacking that cinematic magic? Integrating the right lighting can truly transform your space.
Start with ambient lighting, like recessed LED ceiling fixtures, providing the foundation. Layer in task lighting—think illuminated pathways—to keep you from tripping over those snack bowls.
Then, sprinkle in accent lighting, such as wall sconces and cozy LED strips for that luxe vibe. Dimmable options are key; you want flexibility to adjust when you’re watching a thriller versus a rom-com, right?
Just remember, the goal is to create a cozy atmosphere without drawing attention away from the screen. Every detail matters, so light it up smartly!
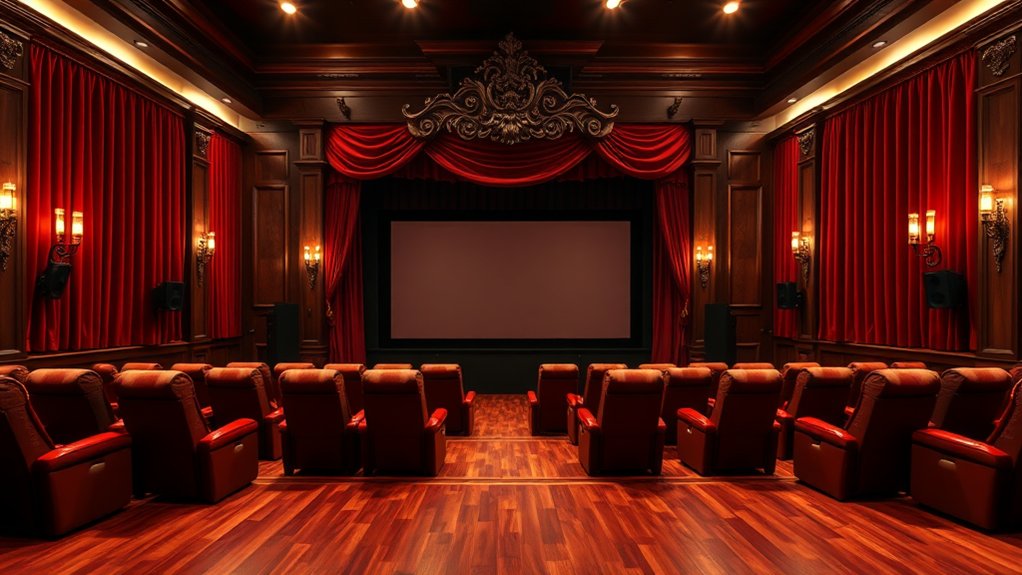
Final Touches and Personalization for Your Home Theater
To truly improve your home theater experience, you’ll want to immerse yourself in the exciting world of final touches and personalization, making it distinctly yours.
Start with acoustic treatment—position those panels wisely at reflection points to minimize echoes, and don’t forget about bass traps. They’re like bouncers for low frequencies, guaranteeing everyone enjoys balanced sound.
Then, think seating; ergonomic recliners with cup holders add convenience, right? Choosing tiered layouts can raise your viewing (literally).
For visual impact, decorate with themed elements—who wouldn’t love a vintage film poster? Ambient lighting can transform the mood without blinding you during movie night.
Finally, smart tech integration guarantees that controlling it all is a breeze. The integration of quality sound systems significantly enhances the overall atmosphere, so go ahead—make it specially yours!
Frequently Asked Questions
What Budget Should I Allocate for a Custom Home Theater Stage?
You should allocate around 10-15% of your total home theater budget for a custom stage. Consider materials, design complexity, and any extra features you want, ensuring it improves your overall viewing experience.
How Do I Choose the Right Color Scheme for My Theater?
To choose the right color scheme for your theater, consider dark and matte colors for better screen contrast, cozy ambiance, and reduced glare. Think about room size and usage to guarantee an immersive viewing experience.
What Safety Features Should I Consider for My Home Theater?
You should prioritize electrical safety by grounding circuits, securing equipment, and using GFCIs near water. Organize cables, guarantee sturdy installations, and use fire-resistant materials to create a safe environment for your home theater.
How Can I Improve Airflow and Ventilation in the Theater?
To improve airflow and ventilation, you’ll want to install a dedicated HVAC system, position vents for natural airflow, and use fans for active cooling. Regular maintenance and strategic layouts guarantee consistent temperature management, enhancing comfort.
What Decor Elements Can Enhance the Theater’s Ambiance?
To improve your theater’s ambiance, choose dark, rich colors for walls, install soft, dimmable lighting, and incorporate plush textiles. Consider acoustic treatments and furniture that support sound quality as you create a cozy, inviting atmosphere.