
Setting up your DIY home theater is easier than you might think! Start by selecting the right equipment, like a high-definition TV or video projector, based on your room size. Next, plan your room layout with comfy seating and soundproofing. When setting up, guarantee your projector and screen are perfectly aligned for the best picture quality. Don’t forget to configure your sound system for immersive audio—placement matters! Interested in making your home theater experience even better? There’s more to reveal!
Key Highlights
- Select the appropriate display equipment based on room size and budget—consider a high-definition TV for smaller spaces or a projector for larger areas.
- Plan your room layout ensuring optimal seating arrangement for a 36 to 50-degree viewing angle and adequate space between rows.
- Choose and install a suitable projector and screen, maintaining proper placement for viewer comfort and adhering to throw ratio guidelines.
- Configure your sound system by positioning speakers correctly for immersive audio, including front, center, and surround channels.
- Manage wiring neatly, using existing routes and cord covers to conceal cables while keeping A/V and power cables separated for optimal performance.
Selecting the Right Equipment
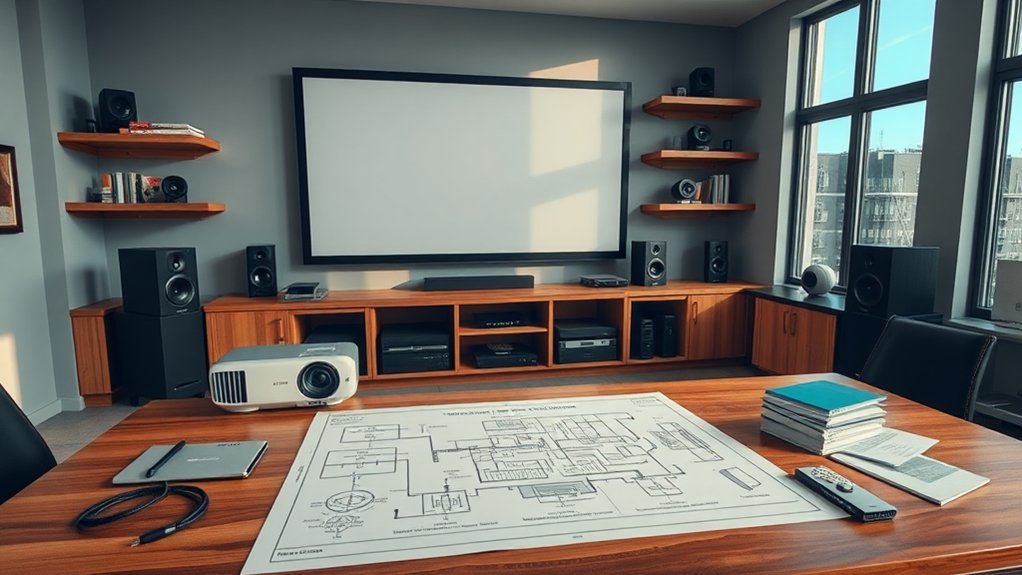
When you’re diving into creating your DIY home theater, it’s essential to pick the right equipment, especially since the technology environment changes faster than you can say “surround sound.”
First off, you’ll need to decide between a high-definition TV and a video projector, which can feel like choosing between a cozy armchair and a plush couch—each has its perks, but the best fit often depends on your room size and budget. If you’ve got a larger room, video projectors can deliver a cinematic experience, whereas TVs provide crisp, vivid images in smaller spaces. Additionally, thoughtful placement of your screen and seating can significantly enhance the overall viewing experience. Soundbars with Dolby Atmos or DTS:X technology can create an immersive audio environment, making it feel like you’re in the middle of the action.
Furthermore, it’s important to consider a space of at least 20 feet long by 13 feet wide to optimize your setup. Don’t forget to evaluate resolution, contrast ratio, and color accuracy for the best picture quality.
And remember, eye strain can be a real buzzkill, so keep screen size and viewing distance in mind!
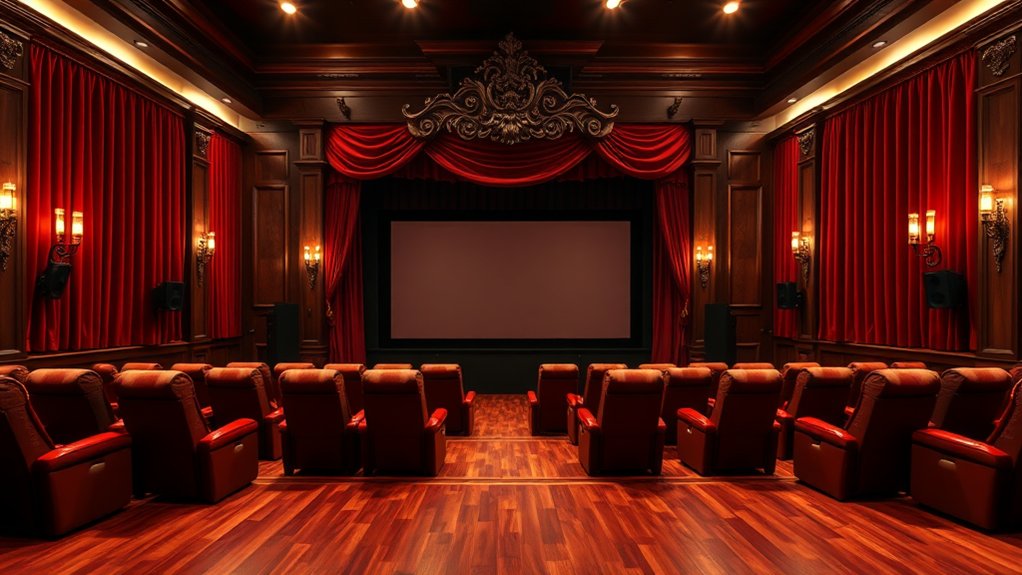
Planning Your Room Layout
Creating an inviting and functional room layout for your home theater isn’t just about plopping down a sofa and a screen; it can involve a bit of math and a good dash of creativity.
Start by considering the room size—ideally 15 to 20 feet wide and 20 feet long—for comfort and equipment fit. Arrange your seating to guarantee each viewer has a 36 to 50-degree viewing angle and maintain at least 36 inches between rows. Make sure to also incorporate soundproofing materials to enhance acoustics and minimize external noise. The room design should focus on lighting, sight lines, and acoustics to create an optimal viewing experience. Additionally, utilizing a quality soundbar, like the Sonos Beam, can elevate the audio experience for both music and movies.
Consider a room size of 15-20 feet wide and 20 feet long for optimal comfort and viewing angles.
Don’t forget about traffic flow; clear aisles and accessible paths prevent chaos during commercial breaks. Positioning speakers and screens well is crucial for immersive sound, whereas proper lighting setups can transform your space from drab to fab.
Why not put some thought into it?
Setting Up the Projector and Screen
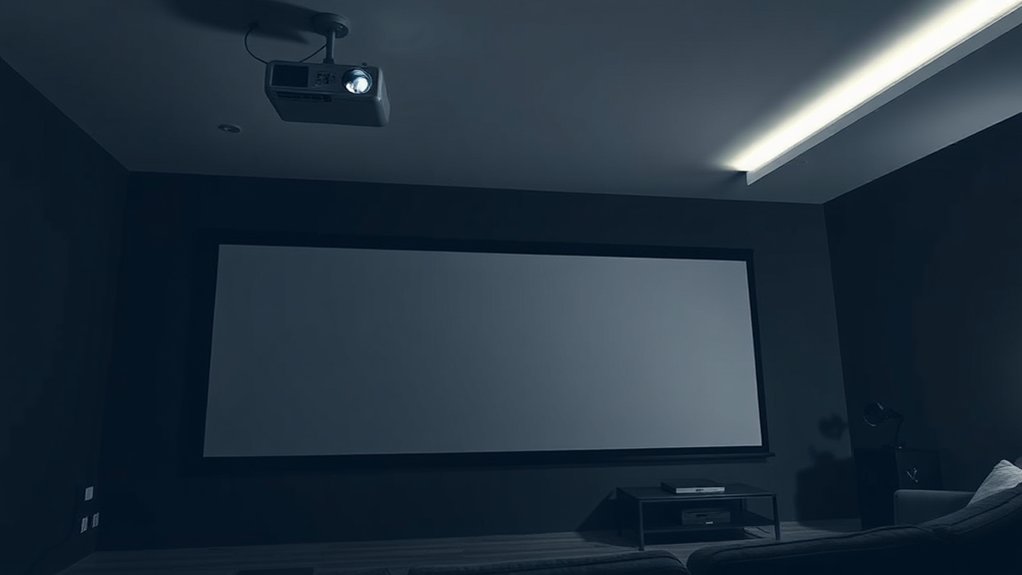
With the room layout set up for an immersive experience, it’s time to focus on what really brings your home theater to life—the projector and screen. Start by choosing a projector that fits your room’s size and lighting; a 4K model often delivers stunning clarity. Additionally, consider the optimal distance between the screen and your seating to enhance the viewing experience. Next, select a screen type aligned with your projector’s technology—DLP, LCD, or LCoS—so colors pop and contrasts shine. Mount the screen at eye level from your main seating area to avoid neck strain, ensuring it’s level for distortion-free viewing. For projector placement, follow the throw ratio guidelines, aligning the lens with the screen’s center. And remember, a clean lens and managed cables keep things tidy—because who doesn’t love a clutter-free space?
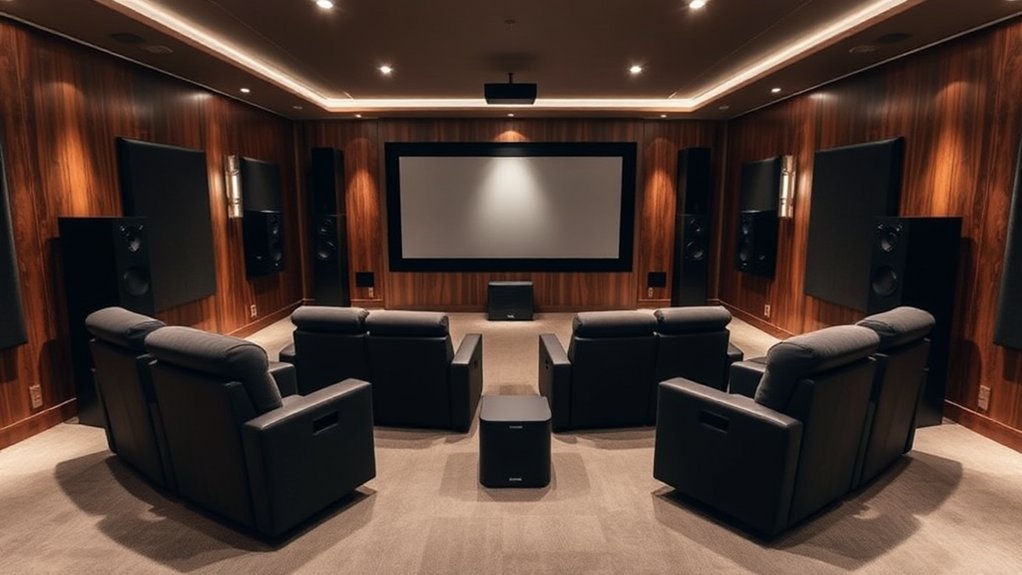
Configuring Your Sound System
Configuring your sound system can turn your home theater into a breathtaking auditory experience, and getting it right often comes down to thoughtful placement of speakers and careful setup.
Start by positioning your front left and right speakers at a 45 to 60-degree angle from your main listening spot, creating that immersive stereo field we all crave.
Don’t forget the center channel; it should be right above or below your TV for crisp dialogue.
Surround speakers belong at ear level behind or to the side of the seating area, as subwoofers thrive in corners for rich bass.
And if you want to take it up a notch, consider adding overhead speakers—who doesn’t want that three-dimensional sound, right? Additionally, for optimal performance and clarity, you may want to explore soundbars like the Bose Solo 5, which features Dialogue Mode to enhance speech clarity in media.
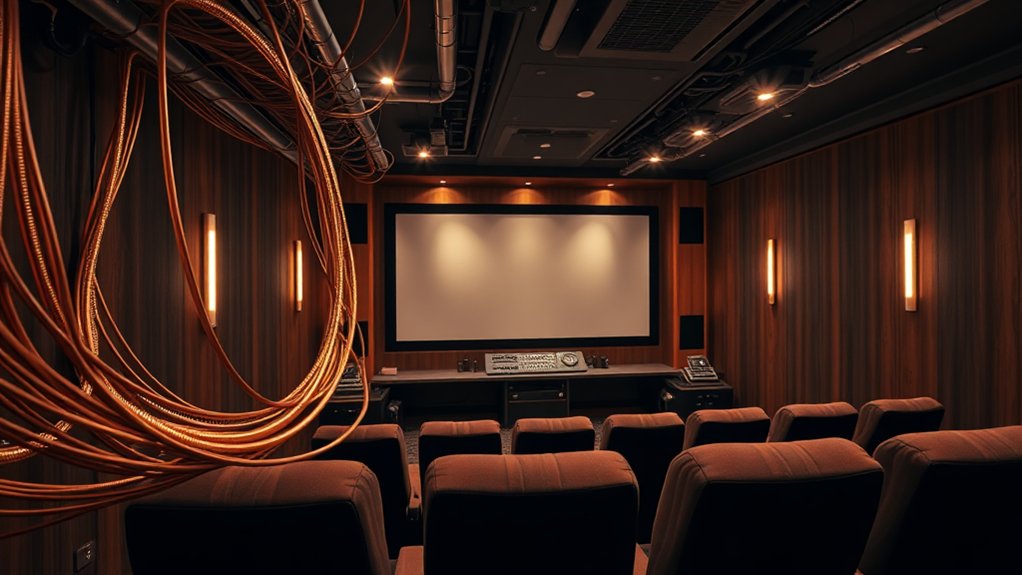
Managing Wiring and Cables
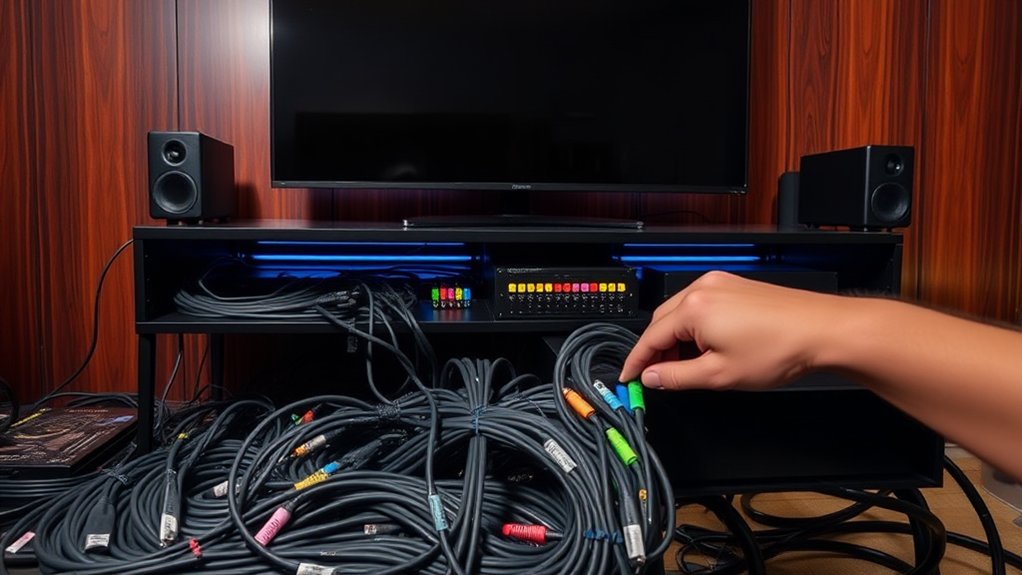
Once your sound system‘s in place and harmonizing beautifully, it’s time to tackle the nitty-gritty of managing your wiring and cables.
Start by planning your cable routes—use existing crawlspaces and gaps to minimize the hassle. Befriend your drill, but remember, if you’re unsure about cutting drywall, calling in a pro isn’t a bad idea.
Once you’ve measured and marked your drill points, gather the necessary hardware like brackets and cable ties. Bundle cables with reusable ties, but don’t overdo it; tight ties can harm insulation.
Remember, separating A/V cables from power is like keeping oil and water apart—essential for good performance!
Finally, consider using cord covers to maintain a clean aesthetic as you conceal your masterpiece. Happy wiring!
Enhancing Acoustics and Ambiance
To create an immersive home theater experience, it’s vital to contemplate how sound behaves in your space; after all, how can you enjoy a cinematic masterpiece if the audio feels as flat as cardboard?
Start with acoustic panels to absorb sound waves, reducing that bothersome echo. Bass traps, strategically placed in corners, tame low-frequency sounds, preventing a boomy mess.
In the meantime, diffusers on the rear wall keep the ambiance lively without creating hot spots. Don’t forget ceiling clouds to control overhead reflections!
Remember, balance is key—too much absorption can make things feel dead, whereas a bit of diffusion can add life. Additionally, incorporating a soundbar with immersive audio technologies can significantly enhance your overall audio experience outside of just acoustics!
Frequently Asked Questions
What Is the Ideal Distance Between Seating and Screen?
The ideal distance between your seating and screen varies by size and resolution. For a 70-inch screen, sit about 11 to 29 feet away; closer for higher resolutions to enjoy a clearer picture comfortably.
How Can I Improve Image Quality Outdoors?
To improve image quality outdoors, choose a high-lumen projector, guarantee a gain screen, and set up in a dark area. Keep the screen smooth, and manage ambient light to elevate contrast and clarity.
Do I Need a Special Screen for a Projector?
You definitely need a special screen for your projector. It improves image brightness and clarity, minimizes light absorption, and provides an ideal surface for a truly immersive viewing experience compared to plain walls.
Can I Use My Home TV as a Projector Screen?
You can’t use your home TV as a projector screen. TVs emit light and have reflective surfaces that distort images, compromising quality. For ideal results, stick with proper projector screens or suitable walls.
What Maintenance Does a Projector Require?
Your projector needs regular maintenance, including lens cleaning, filter dusting, and inspecting components monthly. Make certain to check the cooling system and lamp usage, and perform routine inspections for peak performance and longevity.