To correct keystone distortion on your projector, start by positioning it perpendicular to the screen—this simple step can prevent that bothersome trapezoidal shape. You can adjust height for ideal lens alignment too. If distortion lingers, use the projector’s manual keystone correction buttons, or investigate digital adjustment options in the settings. Don’t forget to reflect on lens shift if your projector allows it; it could save you from digital sacrifices in image quality. Curious about other strategies?
Key Highlights
- Position the projector perpendicular to the screen to prevent initial keystone distortion.
- Adjust the height and angle of the projector for optimal lens alignment with the screen center.
- Utilize the manual keystone correction buttons for fine-tuning image adjustments as needed.
- Implement lens shift capabilities to adjust the image while maintaining clarity and sharpness.
- Use high-quality projection surfaces and manage ambient lighting for improved visual quality.
Understanding Keystone Distortion
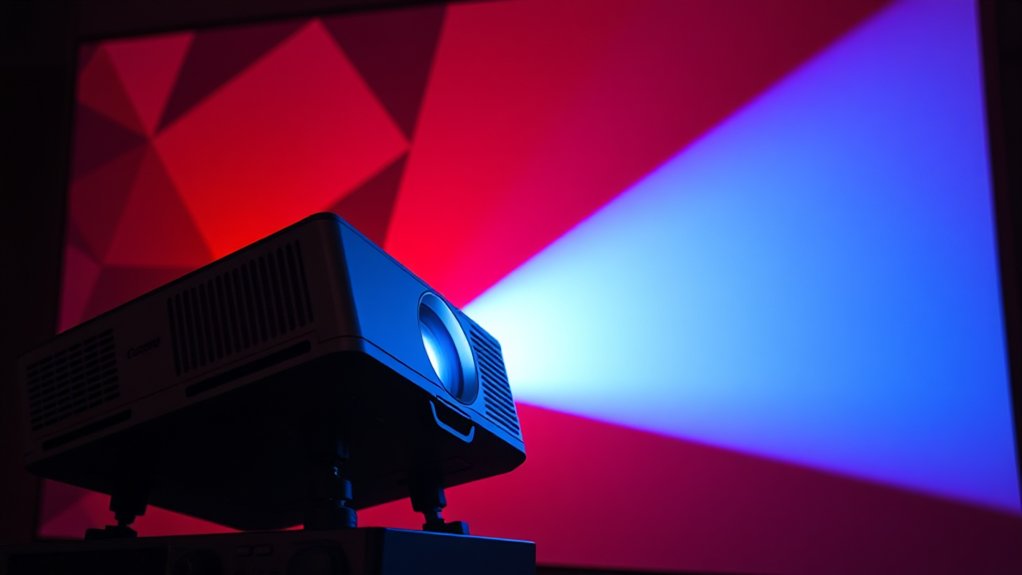
When you fire up your projector, the last thing you want is to see a wonky, trapezoidal image instead of a crisp rectangle, right?
A projector misaligned can turn your stunning visuals into a frustrating trapezoidal mess.
Keystone distortion happens when your projector isn’t aligned perfectly perpendicular to your screen, causing that frustrating distortion. Imagine a beautiful image squashed out of shape—that’s how it looks! The top may seem wider, or one side could balloon out, reminiscent of an architectural keystone.
This geometric hiccup usually occurs because of angular placement, impacting focus and scaling across the screen. Think of it like taking a photo from the side; you get those tricky converging lines. If you want clarity and visual appeal, understanding this distortion is the first step to correcting it. Additionally, keystone correction methods play a crucial role in projector functionality, helping to mitigate the effects of this distortion. Many newer projectors feature built-in keystone correction capabilities that simplify addressing this issue.
Manual Correction Techniques
Achieving that perfectly rectangular image involves more than just knowing what keystone distortion is; it’s about putting your knowledge into practice with manual correction techniques.
First, position your projector perpendicular to the screen to avoid distortion before it happens. If possible, adjust the height to align the lens with the screen center. You can likewise tilt the projector to minimize upward or downward trapezoidal distortion. Proper placement is essential, as it prevents reliance on digital adjustments that may decrease picture quality.
Use adjustable feet or mounts to maintain stability and guarantee a level setup. Then, manually adjust the keystone correction buttons or dials—this lets you fine-tune both vertical and horizontal distortions. Remember that proper positioning minimizes distortion and enhances overall picture clarity.
Got lens shift? Use it to move the image without compromising quality. It’s all about optimizing those manual adjustments for the best display!
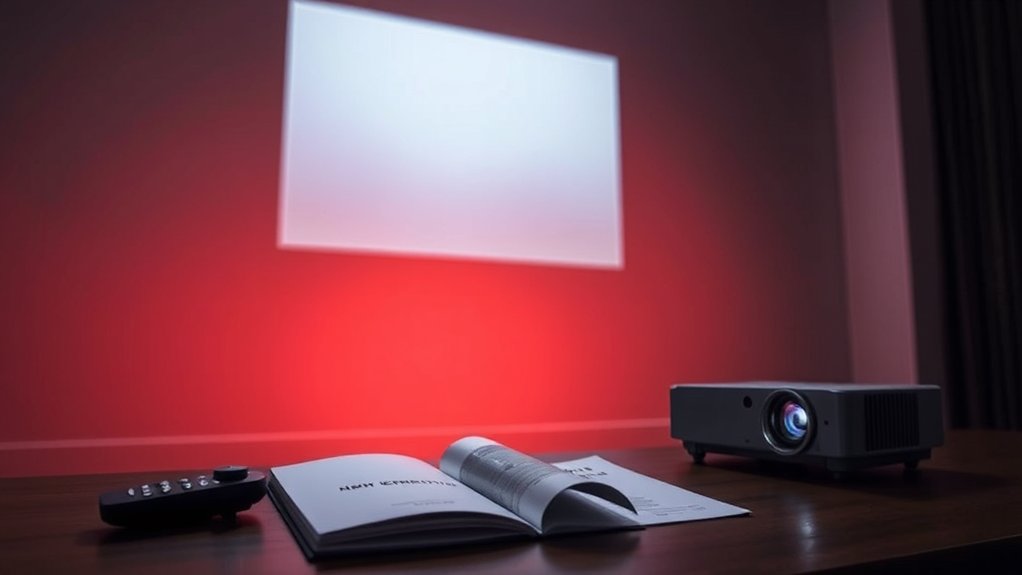
Digital Keystone Correction Methods
Although you might think placing a projector in the perfect spot eliminates all distortion, that’s not always the case. Enter digital keystone correction, a nifty tool that electronically reshapes your image to counteract the trapezoidal distortion from misalignment.
It works by rescaling pixels, making your projected image look like a perfect rectangle before it reaches the lens. You can adjust these settings through the projector menu, often found under “settings” or “picture,” and some models even let you use smartphone apps for a smoother experience. Just remember: even though digital correction offers flexibility in projector placement, it can slightly lower image quality. Digital correction can distort the image and reduce the overall resolution, making it a helpful hand, but not a magician—it doesn’t fix everything!
Using Lens Shift for Better Alignment
Digital keystone correction certainly provides a handy solution for image distortion, but it isn’t the only player in the game.
Enter lens shift: a feature allowing you to physically adjust the projector lens without moving the entire device. This proves invaluable, particularly if your projector’s off-center or mounted at an awkward height.
Unlike digital corrections, lens shift keeps your image sharp and clear—after all, who likes a blurry picture? You can fine-tune the alignment to make the projection perfectly rectangular, minimizing reliance on digital adjustments.
Lens shift ensures a clear, sharp image, allowing for precise alignment and reducing the need for digital corrections.
Just remember, whereas lens shift is sturdy, it can’t tackle extreme angles alone. So, before jumping into the digital domain, utilize lens shift first to achieve the best possible alignment. It’s worth it!
Best Practices for Minimizing Distortion
To minimize distortion and guarantee a crisp, clean image on your screen, it’s crucial to set your projector up just right—so let’s plunge into some best practices that can set you on the path to success.
First, position your projector perpendicular to the screen; angles can lead to a mess of distortion. Keep the projector at a proper distance, and consider using mounts for stability.
You can make manual adjustments, like tilting carefully or tweaking the height, to align edges without overdoing it. Furthermore, use digital keystone correction, but sparingly—too much can make your picture look, well, less than amazing.
Finally, don’t forget to choose high-quality projection surfaces and manage lighting to improve clarity.
Frequently Asked Questions
What Is the Ideal Distance Between Projector and Screen?
The ideal distance between your projector and screen depends on the projector’s throw ratio. Check your manual for recommended distances based on screen size to achieve maximum image clarity and size without distortion.
Can I Use a Curved Screen With a Projector?
Yes, you can use a curved screen with your projector. Just verify it’s compatible with your setup, as this will improve immersion and picture quality, providing a more alluring viewing experience without needing specialized equipment.
How Does Room Lighting Affect Projection Quality?
Room lighting greatly affects projection quality. When it’s too bright, colors wash out and contrast diminishes. To improve your viewing experience, consider controlling ambient light with shades or adjusting room illumination during the use of your projector.
Are There Projectors That Automatically Correct Keystone Distortion?
Yes, there are projectors that automatically correct keystone distortion. Brands like XGIMI and BenQ feature advanced automatic keystone correction, adjusting image alignment effortlessly as you position the projector, enhancing your overall viewing experience.
What Is the Maximum Angle Before Distortion Becomes Noticeable?
You’ll notice keystone distortion typically when your projector lens deviates beyond ±30° to ±50° from perpendicular to the screen. Staying within these angles helps maintain image clarity and minimizes any visual distractions during your viewing experience.