To set up your home theater AV receiver, start by choosing a model with at least five channels for surround sound, ensuring it has enough connectivity options for your devices. Place your speakers strategically—front left and right speakers should be 25-30 degrees off-axis, whereas the center speaker sits directly in front at ear level. After connecting everything with quality cables, run the auto-calibration feature to optimize sound. Curious about fine-tuning those settings or troubleshooting? There’s more to investigate!
Key Highlights
- Position front speakers at 25-30 degrees off-axis, ensuring the center channel is at ear level for optimal sound clarity.
- Connect speakers to the AV receiver using properly stripped wires, matching positive and negative terminals for each speaker.
- Use HDMI cables for all source devices and dedicate RCA outputs for subwoofer connections to enhance audio quality.
- Perform auto calibration with the receiver’s microphone at the main listening position to optimize speaker distances and sound balance.
- Regularly dust and check cables for wear, and use a surge protector to protect your AV receiver from power fluctuations.
Selecting the Right AV Receiver
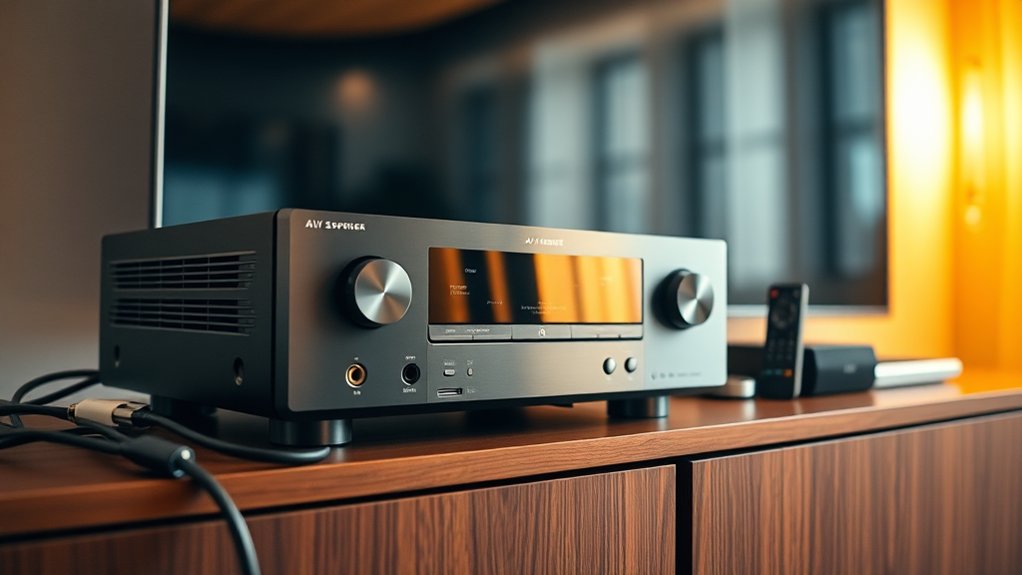
When you’re ready to set up your home theater, selecting the right AV receiver can feel a bit like trying to solve a complicated puzzle—especially since there are so many factors to evaluate.
Start with channel configuration, ideally aiming for at least five channels to support a solid surround sound experience. A minimum of 5 channels is recommended for an immersive audio experience. In addition to channel configuration, proper connectivity options are essential for integrating multiple devices into your setup.
Think about future expansions: will you want to add more speakers later?
Power output is key too; matching your receiver’s wattage (50-100 watts per channel is a sweet spot) guarantees peak performance.
Don’t forget connectivity! You’ll need ample HDMI inputs for all your gadgets.
Imagine the frustration of running out of space for that new gaming console!
Finally, confirming compatibility with your existing equipment and room layout enhances your experience.
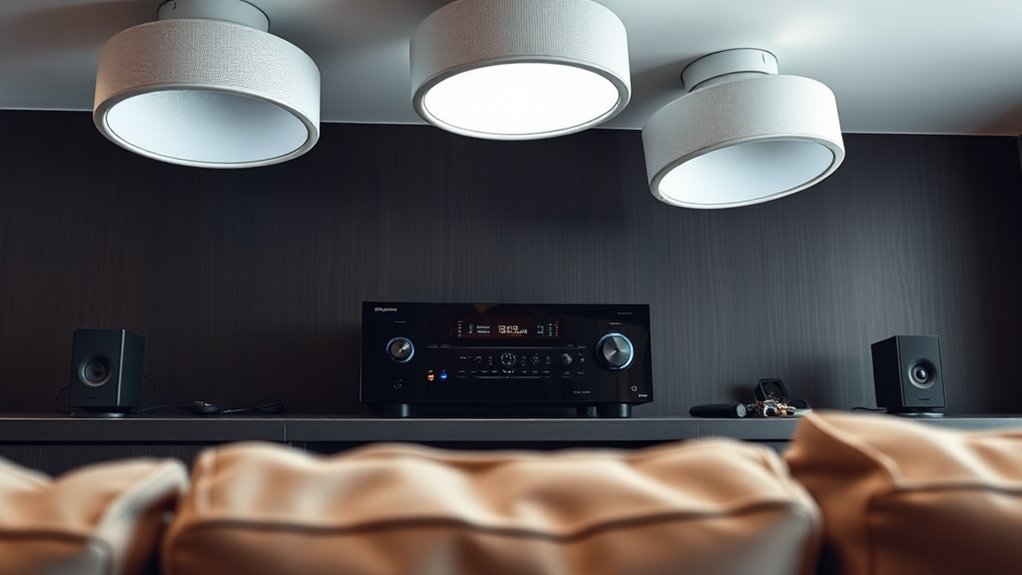
Speaker Placement and Configuration
You’ve got your AV receiver picked out, and now it’s time to turn your attention to speaker placement and configuration.
First, position your front left and right speakers about 25-30 degrees off-axis from your main seating for the best imaging. Make certain those tweeters are at ear height—nobody enjoys straining to catch high notes! Pull them away from corners by 2 to 3 feet to avoid unwanted bass boost. To ensure proper receiver capabilities, consider how many speakers you will be using and whether to optimize setup for a single listening position or for a wider audience experience. Soundbars with immersive audio technologies can enhance this setup significantly.
Position your front speakers 25-30 degrees off-axis and at ear height for optimal audio clarity.
For your center channel, keep it directly in front, ideally at ear level, ensuring dialogue is crystal clear. Surround speakers should be about 90-110 degrees off-axis, and as a bonus, remember to maintain consistent heights. To enhance the overall audio experience, aim for proper surround sound system placement to create a seamless soundstage.
You wouldn’t want an uneven soundstage, would you? So, a little patience goes a long way!
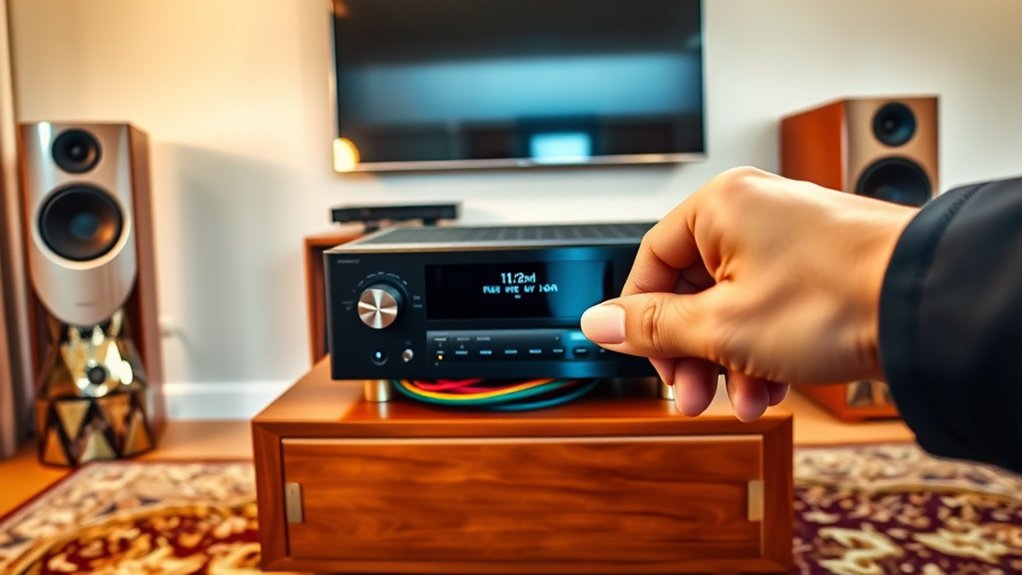
Making Physical Connections
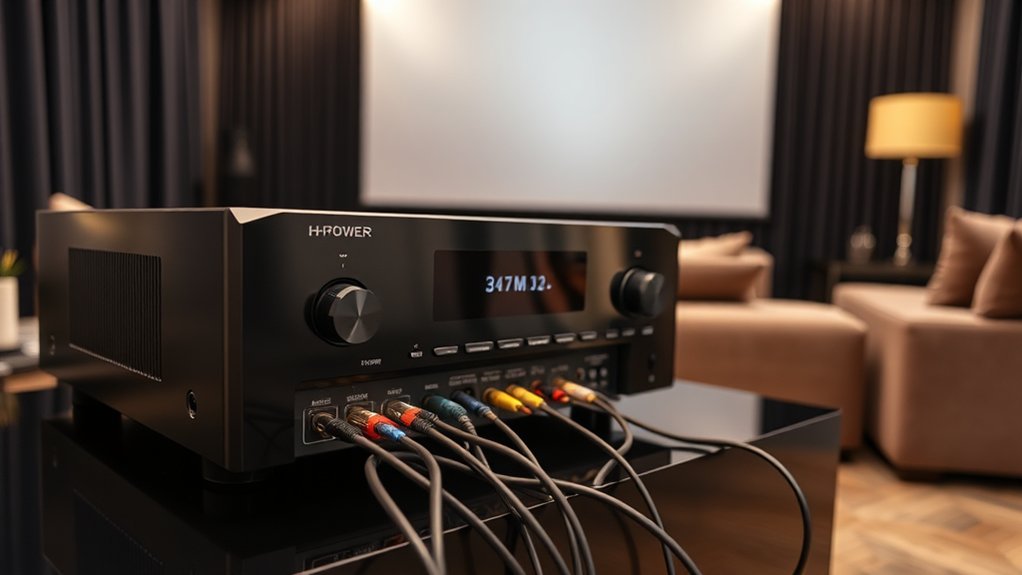
Though setting up your home theater system might seem intimidating at first, getting those physical connections right is simpler than you think, and it can make all the difference in your audio-visual experience.
Start by locating and preparing the AV receiver’s ports—look for HDMI, optical, and speaker terminals, typically labeled for your convenience. Then, connect your speakers with properly stripped wires, ensuring you match the positive and negative terminals to prevent sound issues.
For your source devices, HDMI cables are your best friends, offering sleek, high-quality connections. Don’t forget the subwoofer connection—use the dedicated RCA output for optimum bass. The right frequency response can significantly enhance your listening experience when using quality speakers.
Properly connecting your speakers to the AV receiver ensures correct phase alignment, which is crucial for achieving the best sound performance. Finally, a little cable management goes a long way, so secure your connections to avoid accidental tangles and interference.
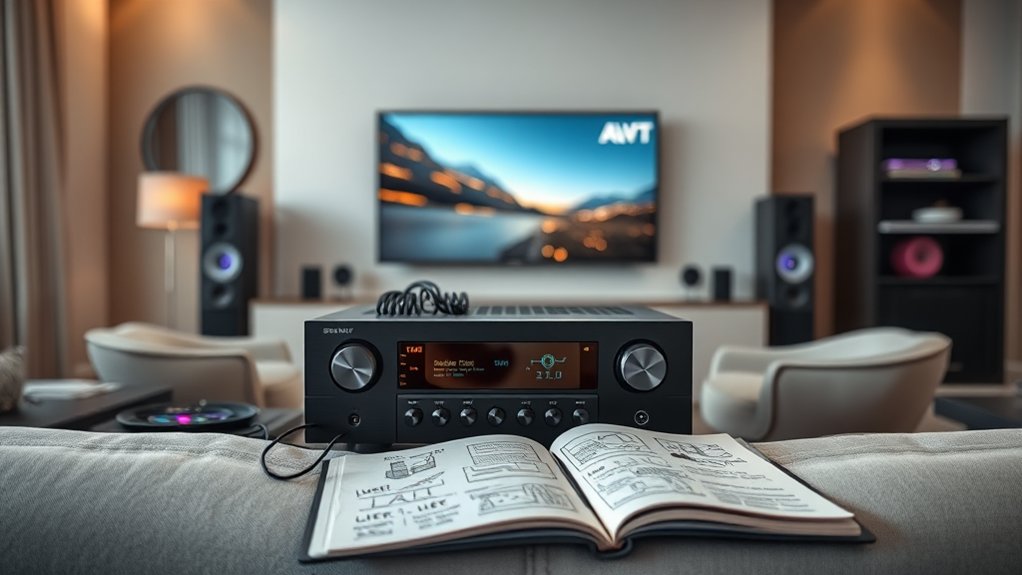
Initial Setup and Calibration
Setting up your home theater system can feel like preparing a gourmet meal; you need to get the ingredients just right to achieve that perfect flavor.
Start by using the built-in microphone for auto calibration, ensuring it’s placed at ear level in your main listening position. This step is essential as it measures speaker output and room acoustics.
Utilize the built-in microphone for auto calibration, positioning it at ear level for optimal results in sound measurement.
Let’s go easy on the buttons during calibration. Simply select “Auto Calibration” from the setup menu and let the receiver work its magic—roughly 30 seconds of delightful test tones from each speaker!
Once it’s done, double-check that the settings make sense, like verifying speaker distances with a tape measure. If something seems off, don’t hesitate to re-run the calibration. Who doesn’t appreciate a little fine-tuning? Additionally, ensure your sound setup is optimized for a immersive audio experience, as high-quality sound can significantly enhance your viewing pleasure.
Configuring Audio and Video Settings
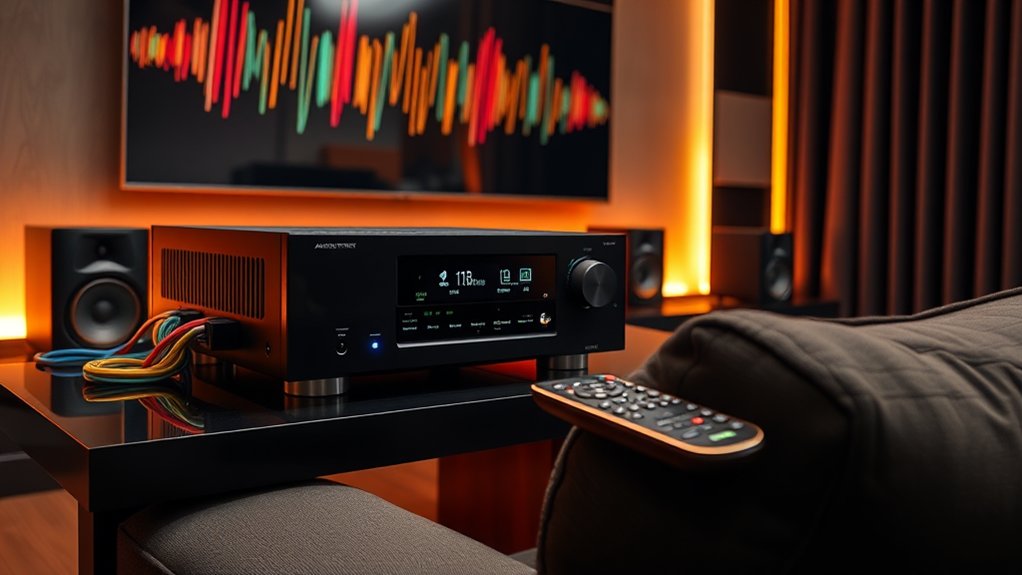
Regarding configuring your audio and video settings, diving into the details can really improve your home theater experience. First, select the ideal audio format; formats like Dolby Atmos or DTS can immerse you in sound, adapting automatically to your inputs.
Don’t overlook dynamic volume control, either—who doesn’t want to avoid those sudden loud bursts during a tense scene?
Next, focus on video calibration. Adjust brightness, contrast, and color to match your room’s lighting—think Goldilocks; not too dark or too bright!
Furthermore, check that your AV receiver supports your source device’s resolution and HDR format for the best visual output. Additionally, consider incorporating a high-quality sound system, such as those that support Dolby Atmos and DTS:X, to fully enhance your audio experience.
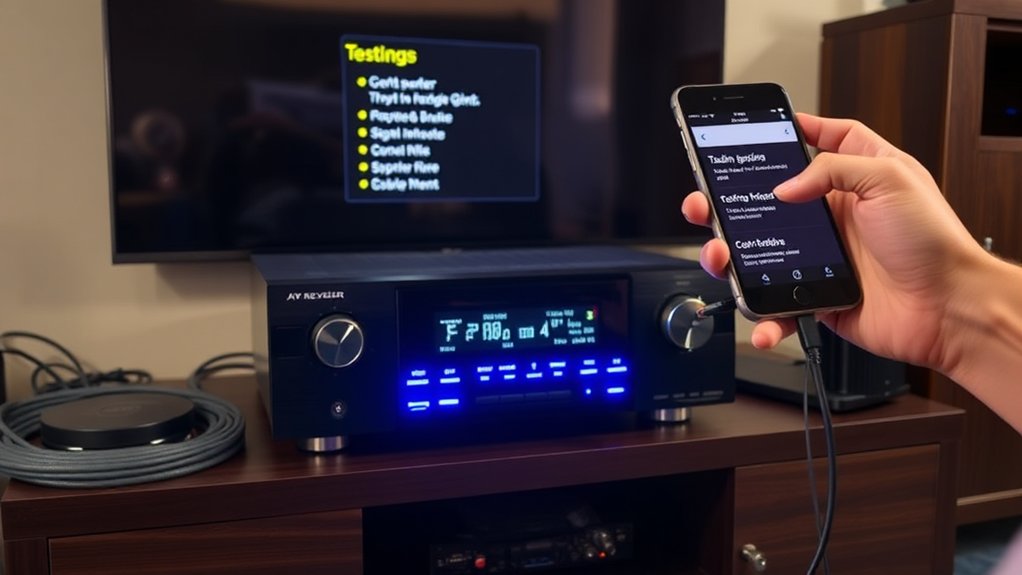
Testing Speaker Output and Balance
Once you’ve got your audio and video settings tuned just right, it’s time to turn your attention to testing the speaker output and balance, which is almost like fine-tuning a musical instrument; each component must resonate in perfect harmony.
Start by using your AV receiver’s built-in test tones to verify each speaker’s output. Make certain your speaker wires match the correct positive and negative terminals, as miswiring can lead to phase issues, which nobody wants.
Position yourself about a meter from each speaker and, if you can, use an SPL meter to measure sound levels for uniformity. Adjust the speaker levels accordingly. Additionally, consider the audio performance of your soundbar, such as the 2.0 channel configuration, to ensure it complements your overall audio setup for immersive sound.
Troubleshooting Common Issues
When your home theater set-up isn’t performing as expected, it can feel like watching a suspenseful movie with the sound muted—frustrating and confusing.
If you’re hearing audio distortion, first, check those cable connections—make certain they’re firmly in place and the polarity matches (red goes with red, right?). If the sound’s still off, try resetting your AV receiver by unplugging it for a moment.
No sound at all? Double-check that your amplifier and speaker wires are secure, and don’t forget the speaker setup menu; it’s worth a look!
For surround sound issues, verify the speakers align with the right outputs. And if you’re facing lag, you might just need to adjust your audio delay settings. Additionally, make sure your setup is optimized for Dolby Atmos and DTS:X Technologies to enhance the overall audio experience.
Sound like a plan?
Maintenance Tips for Your System
Maintaining your home theater system is like tending to a fine wine; with the right care, it only gets better with age.
Start by dusting your AVR and components with a soft cloth, avoiding direct liquid cleaners—after all, they’re not thirsty! Regularly check the ventilation to keep things cool; make certain it’s on an open shelf, minimizing the risk of overheating.
Tame those cables, integrating ties to prevent tangles, and inspect them for wear—nobody likes a surprise disconnection mid-movie.
Moreover, don’t forget about software updates; they’re vital for optimum performance.
Finally, use a surge protector to shield against voltage spikes; think of it as a bouncer for your electrical setup, keeping unwanted guests at bay.
Planning for Future Upgrades
As technology evolves at breakneck speed, planning for future upgrades to your home theater AV receiver becomes essential, ensuring you’re not left in the dust as new audio and video formats emerge.
Consider investing in a receiver that supports the latest audio codecs—like Dolby Atmos or DTS:X—so you’ll be ready for richer sound experiences. Additionally, think about spare HDMI ports; they can save you from immediate upgrades when new devices enter your life.
A model with multi-channel preamp outputs makes it easy to add power amplifiers later on. Don’t forget advanced room calibration features, which adjust your sound dynamically, giving you the best audio regardless of your room’s quirks. Moreover, opting for a receiver that supports compatible devices allows seamless integration with various soundbars and speakers, enhancing your overall audio experience.
After all, why settle for less?
Frequently Asked Questions
What Features Should I Look for in a Smart AV Receiver?
When choosing a smart AV receiver, look for HDMI 2.1 support, immersive audio formats like Dolby Atmos, built-in streaming services, advanced calibration features, and strong network connectivity options to improve your entertainment experience.
How Can I Optimize Sound Quality for Large Rooms?
To optimize sound quality in large rooms, you’ll want to use acoustic treatments, carefully place your speakers, and calibrate your AV receiver. This will elevate clarity, improve bass response, and create a balanced sound field.
Are There Wireless Speaker Options for Home Theaters?
Yes, you’ve got various wireless speaker options for home theaters, like WiSA-enabled systems for seamless surround sound or Bluetooth and Wi-Fi speakers. Just ascertain compatibility with your AV receiver for the best performance.
What Budget Should I Consider for a Quality Home Theater Receiver?
When considering a budget for a quality home theater receiver, aim for at least $500 for mid-range options. This investment guarantees better sound quality, advanced features, and the flexibility to improve your viewing experience.
Can I Use an AV Receiver With a Vinyl Record Player?
Yes, you can use an AV receiver with a vinyl record player, but make certain it has a phono input. If not, you’ll need an external phono preamp for proper connection and audio quality.