Setting up a record player for the best sound quality involves several easy steps. Here is a comprehensive guide to help you achieve optimal sound reproduction:
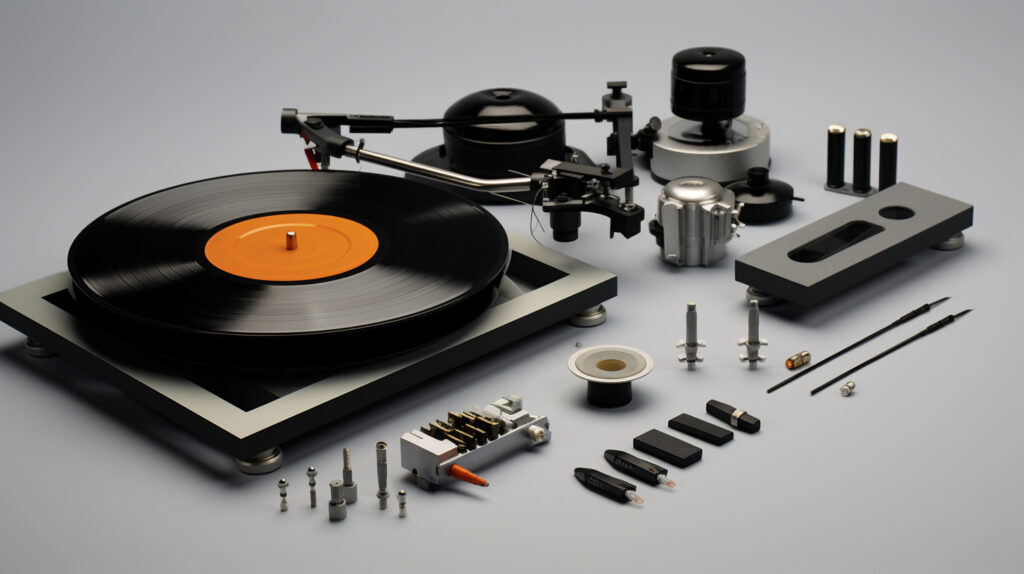
- Familiarize yourself with the different parts and components of a turntable. This includes the platter, tonearm, cartridge, stylus, and counterweight.
- Make sure you have all the necessary connections. This typically includes connecting the turntable to a receiver or amplifier using RCA cables. Some modern turntables also have Bluetooth or USB outputs for wireless or digital connectivity.
- Properly balance the tonearm. This is crucial for accurate tracking and preventing unnecessary wear on your records. Use the counterweight to achieve the recommended tracking force for your cartridge.
- If you have a belt-driven turntable, ensure that the belt is properly attached and positioned on the pulley. This is essential for maintaining the correct speed of the platter.
- Select the correct speed setting for your record. Most turntables offer 33 1/3 and 45 RPM options. Make sure to set the speed accordingly to match the record you are playing.
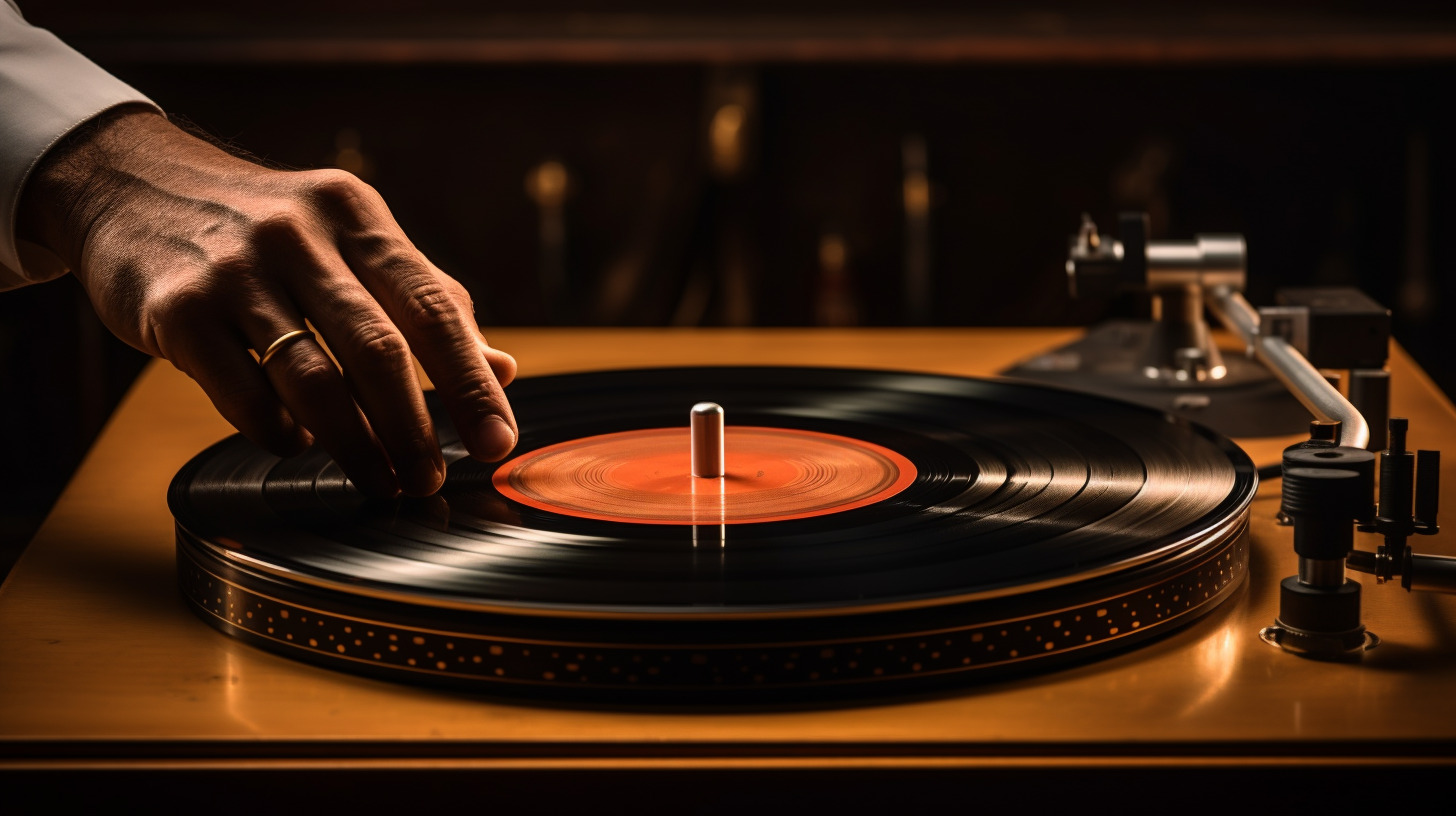
- Position the tonearm and stylus on the record. Gently lower the tonearm onto the outer edge of the record, allowing the stylus to make contact. Avoid dropping the tonearm abruptly, as this can damage the stylus and record.
- Consider using a record weight or clamp to improve stability and reduce unwanted vibrations during playback. This can enhance sound quality and minimize distortion.
- Take advantage of the advancements in modern turntables. If your turntable has Bluetooth or USB outputs, explore the possibilities of wireless streaming or digitizing your vinyl collection.
By following these steps, you can set up your record player for the best sound quality and enjoy the warm, rich sound of your vinyl records.
Key Takeaways
- Properly attach the belt on belt-driven turntables
- Balance the tonearm for accurate tracking and record preservation
- Select the correct speed setting for the record being played
- Consider upgrading the cartridge and adding an external pre-amplifier for improved sound quality
Setting Up a Record Player
Setting up a record player involves familiarizing yourself with the different parts of a turntable. These include the plinth, platter, tonearm, and cartridge. Connecting these parts together is crucial to ensure proper functionality.
To troubleshoot common record player issues, checking if the belt is properly attached to the platter and motor pulley for belt-driven turntables is important. This ensures smooth rotation and prevents any speed variations.
Balancing the tonearm is another important step in setting up a record player. This involves adjusting the counterweight at the back of the tonearm to achieve proper balance. Additionally, setting the tracking weight to the manufacturer’s recommendation helps improve performance and prevents excessive wear on your vinyl records.
Upgrading your record player can also enhance sound quality. One option is to invest in a higher-quality cartridge. The cartridge is responsible for converting the vibrations from the stylus into an electrical signal so that a better cartridge can result in clearer and more detailed sound reproduction.
Another option for upgrading is adding an external pre-amplifier if your turntable does not have a built-in one. A pre-amplifier boosts the signal from the cartridge to a level that can be properly amplified by your audio system, resulting in improved sound quality.
Setting up a record player correctly and making necessary upgrades can greatly enhance your vinyl collection’s sound quality and enjoyment.
Parts and Components
The components of a turntable include the plinth, platter, belt-driven or direct drive mechanism, tonearm, cartridge, and amplifier, all of which work together to produce sound from vinyl records. The plinth serves as the base of the turntable, providing stability and dampening vibrations.
The platter is the circular part where you place your record. Belt-driven turntables use a belt to connect the platter to the motor pulley, while direct-drive turntables have the motor directly connected to the platter. The tonearm guides the stylus through the grooves on the vinyl, and the cartridge contains the stylus and converts vibrations into an electrical signal.
Additionally, some turntables have a built-in amplifier, while others require an external pre-amplifier. When setting up your record player, it is important to choose the right stylus for your turntable and properly maintain it for the best sound quality.
Connecting and Balancing
Connecting the different components of a turntable setup is a crucial step in ensuring a seamless flow of auditory vibrations that transport listeners into a world of musical immersion. To achieve the best sound quality, it is important to follow proper connecting techniques and troubleshoot common issues that may arise. Here are some key steps to consider:
- Ensure all cables are securely connected to their respective ports, such as the tonearm cables to the cartridge and the RCA cables to the amplifier.
- Use high-quality cables to minimize interference and signal loss.
- Check for any loose connections or damaged cables that may affect the sound quality.
- Properly ground the turntable to eliminate unwanted hum or buzzing noises.
- If using an external pre-amplifier, connect it correctly to the turntable and amplifier.
- If encountering issues with sound quality or volume, adjust the cartridge alignment and tracking force.
- Regularly clean the stylus to prevent the buildup of dust and debris that can affect sound quality.
By following these connecting techniques and troubleshooting common issues, you can ensure that your record player is set up for the best sound possible.
Frequently Asked Questions
How do I clean my records before playing them on a record player?
To clean records before playing them on a record player, it is important to use record cleaning solutions specifically designed for vinyl. These solutions help remove dust, dirt, and other contaminants that can affect sound quality. Additionally, proper record storage is crucial to prevent damage and maintain optimal sound quality.
Can I use my record player to play other audio sources, like CDs or MP3s?
Record players can’t be used as speakers for other audio sources, but some modern turntables come with Bluetooth outputs. These allow you to connect Bluetooth headphones and listen wirelessly. However, record players are primarily designed for playing vinyl records.
Is it necessary to use a record-cleaning brush?
Record-cleaning brushes are necessary for maintaining the quality of vinyl records. They remove dust and debris from the grooves, reducing surface noise and preventing damage to the stylus. Alternative methods of cleaning include using microfiber cloths or specialized cleaning solutions and machines.
Can I use a record player with wireless speakers?
Using a record player with Bluetooth speakers offers the convenience of wireless connectivity. The benefits include easy setup and the ability to stream music from various devices. However, limitations may include potential audio quality loss and limited range compared to wired connections.
How do I store my records to prevent damage?
To prevent damage to your records, it is important to store them properly. Record storage options include using record sleeves, storing records vertically in a sturdy shelf, and avoiding exposure to direct sunlight and extreme temperatures.